Create a target
To create, i.e., to provision, a targe,t go through the following steps:
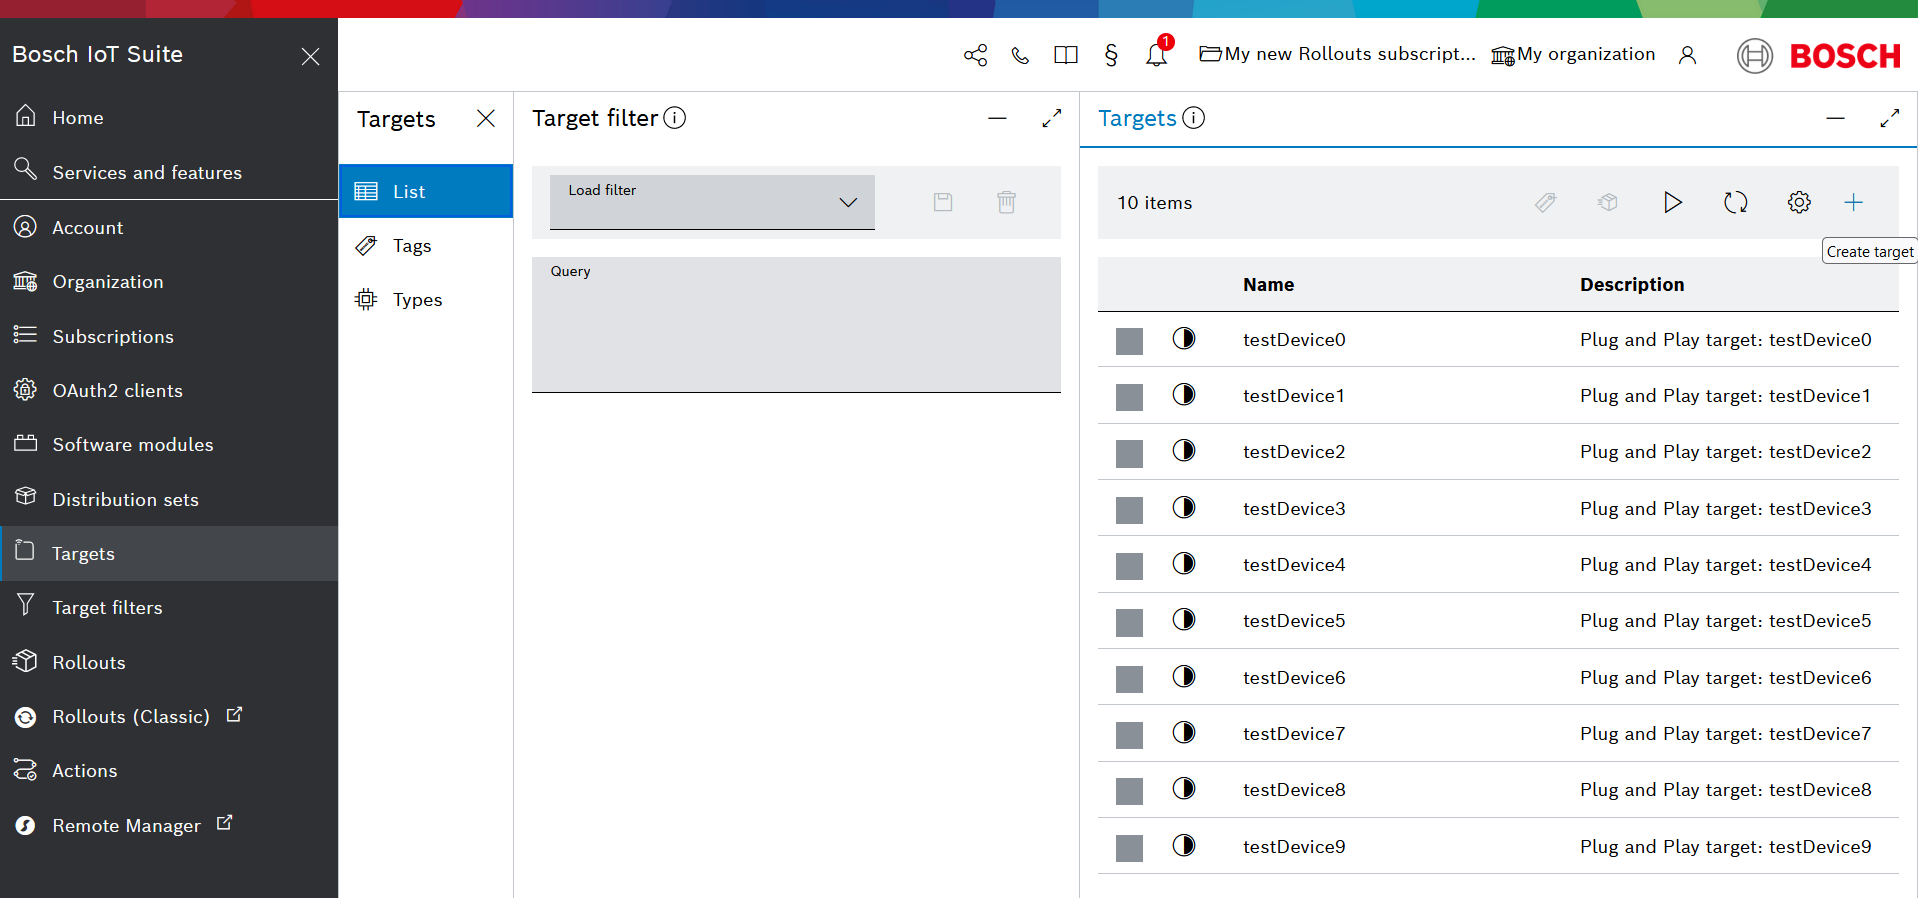
- Click the + icon on the top right of the Targets view (its tooltip says Create target).
- In the dialog that opens up, fill in the fields:
- Controller Id - a mandatory unique ID for the target.
- Name - an optional user-friendly name. If one is not typed, the Controlled Id is assigned as Name as well.
Type - an optional type.
Learn how to create one at Create a target type.
- Description - an optional description of the target.
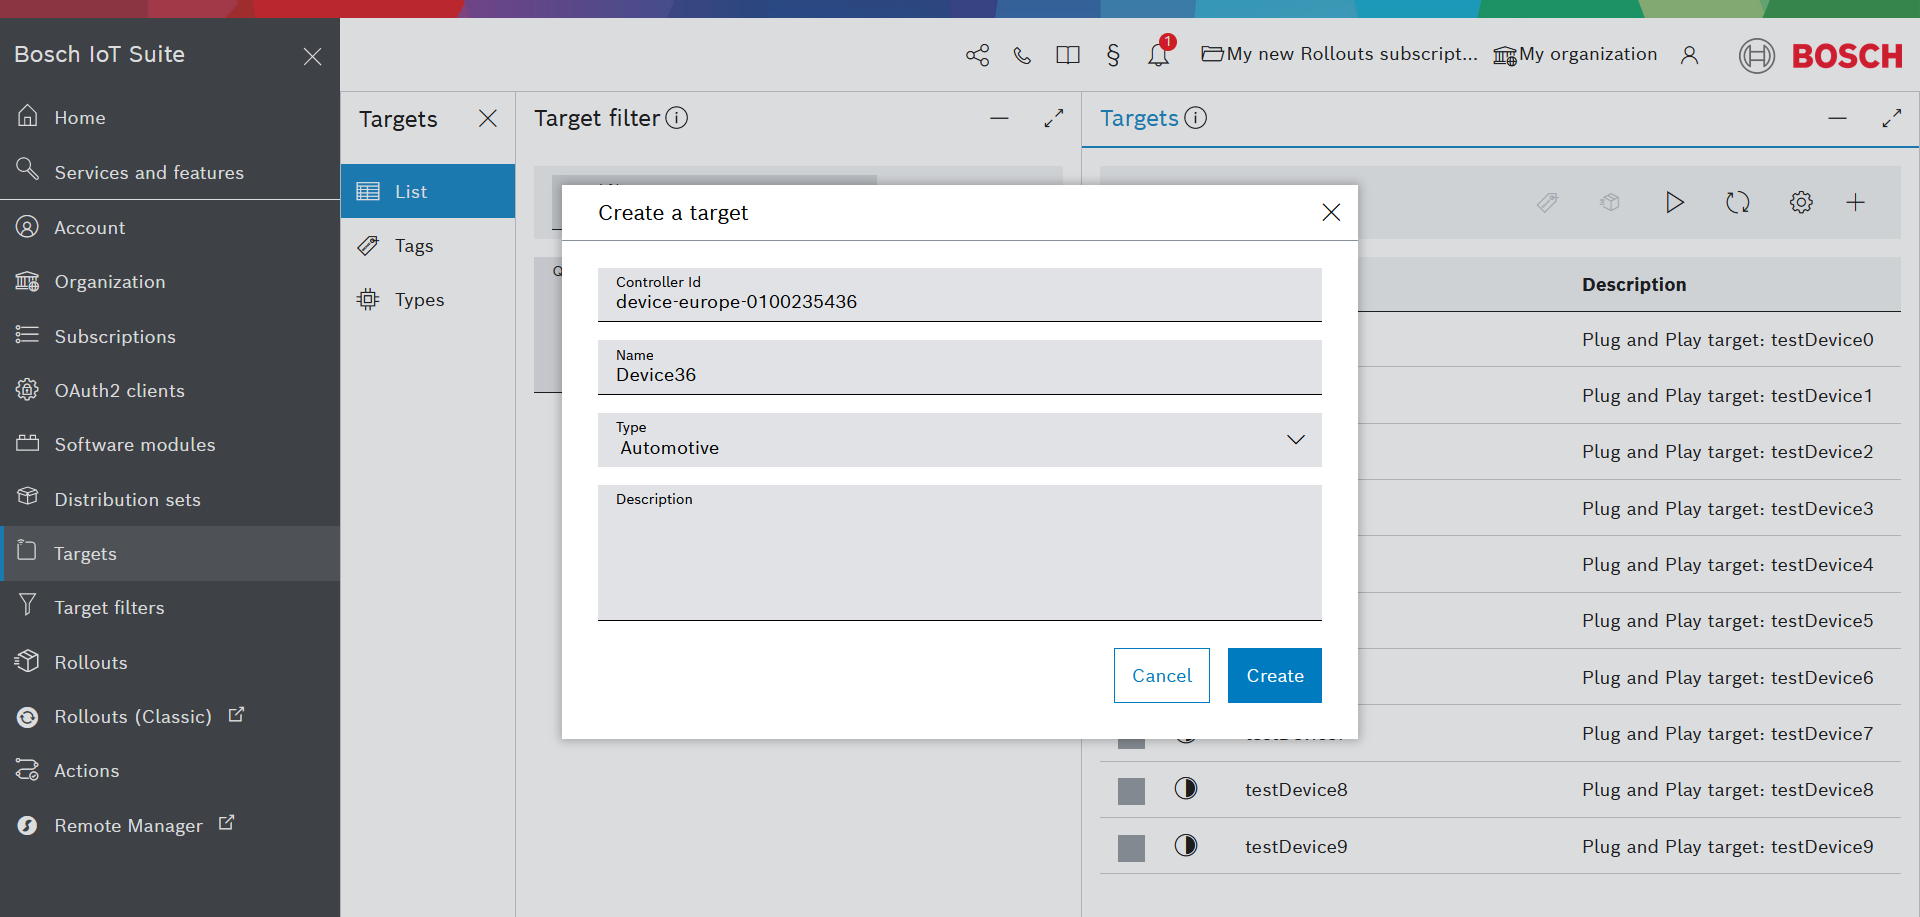
- Click Create.
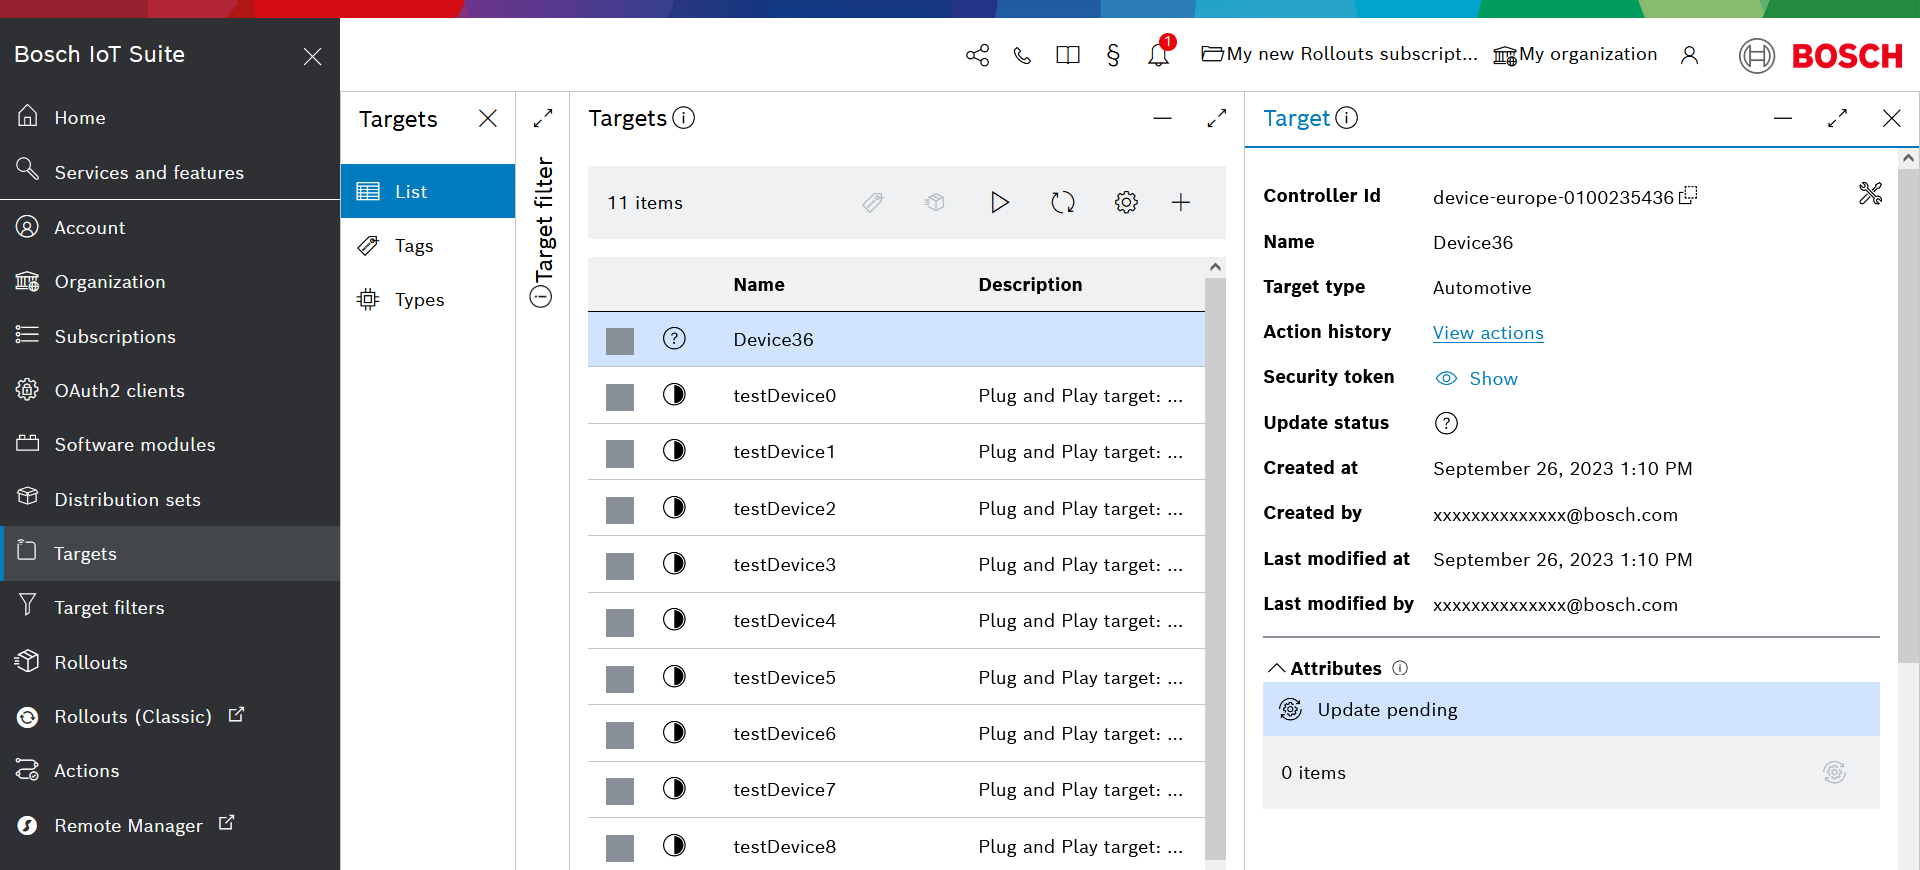
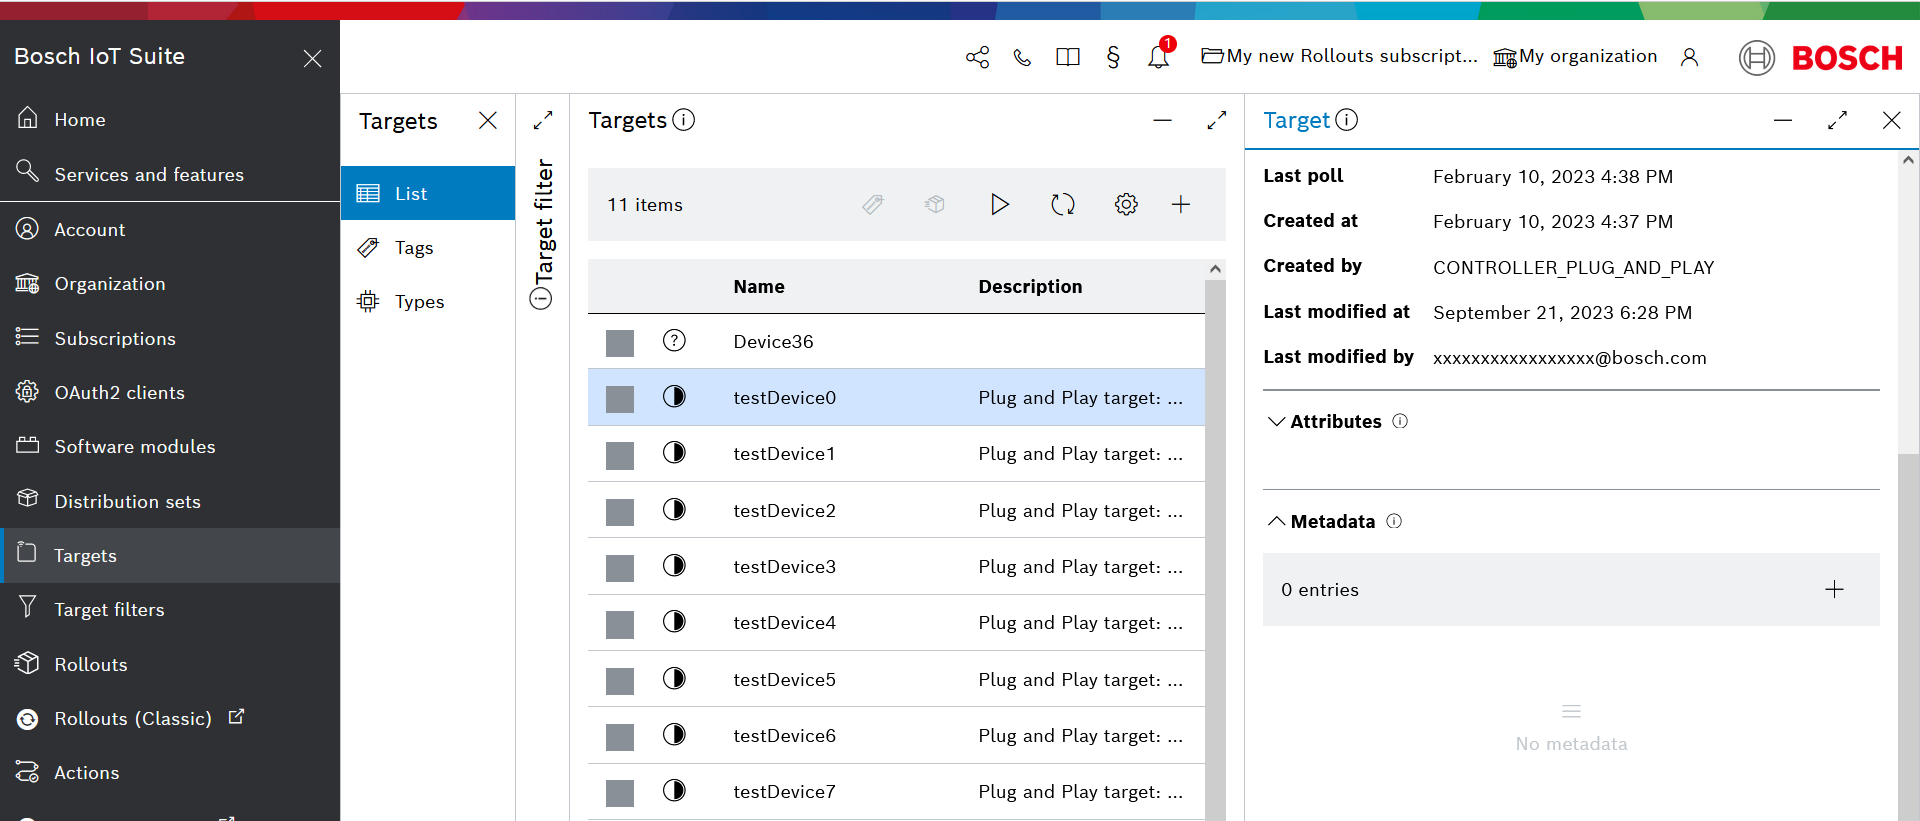
The target will be shown as part of the Targets list.
Until it connects for the first time, its state will be UNKNOWN, also indicated by the question mark icon.
Learn how to complete the device registration here.
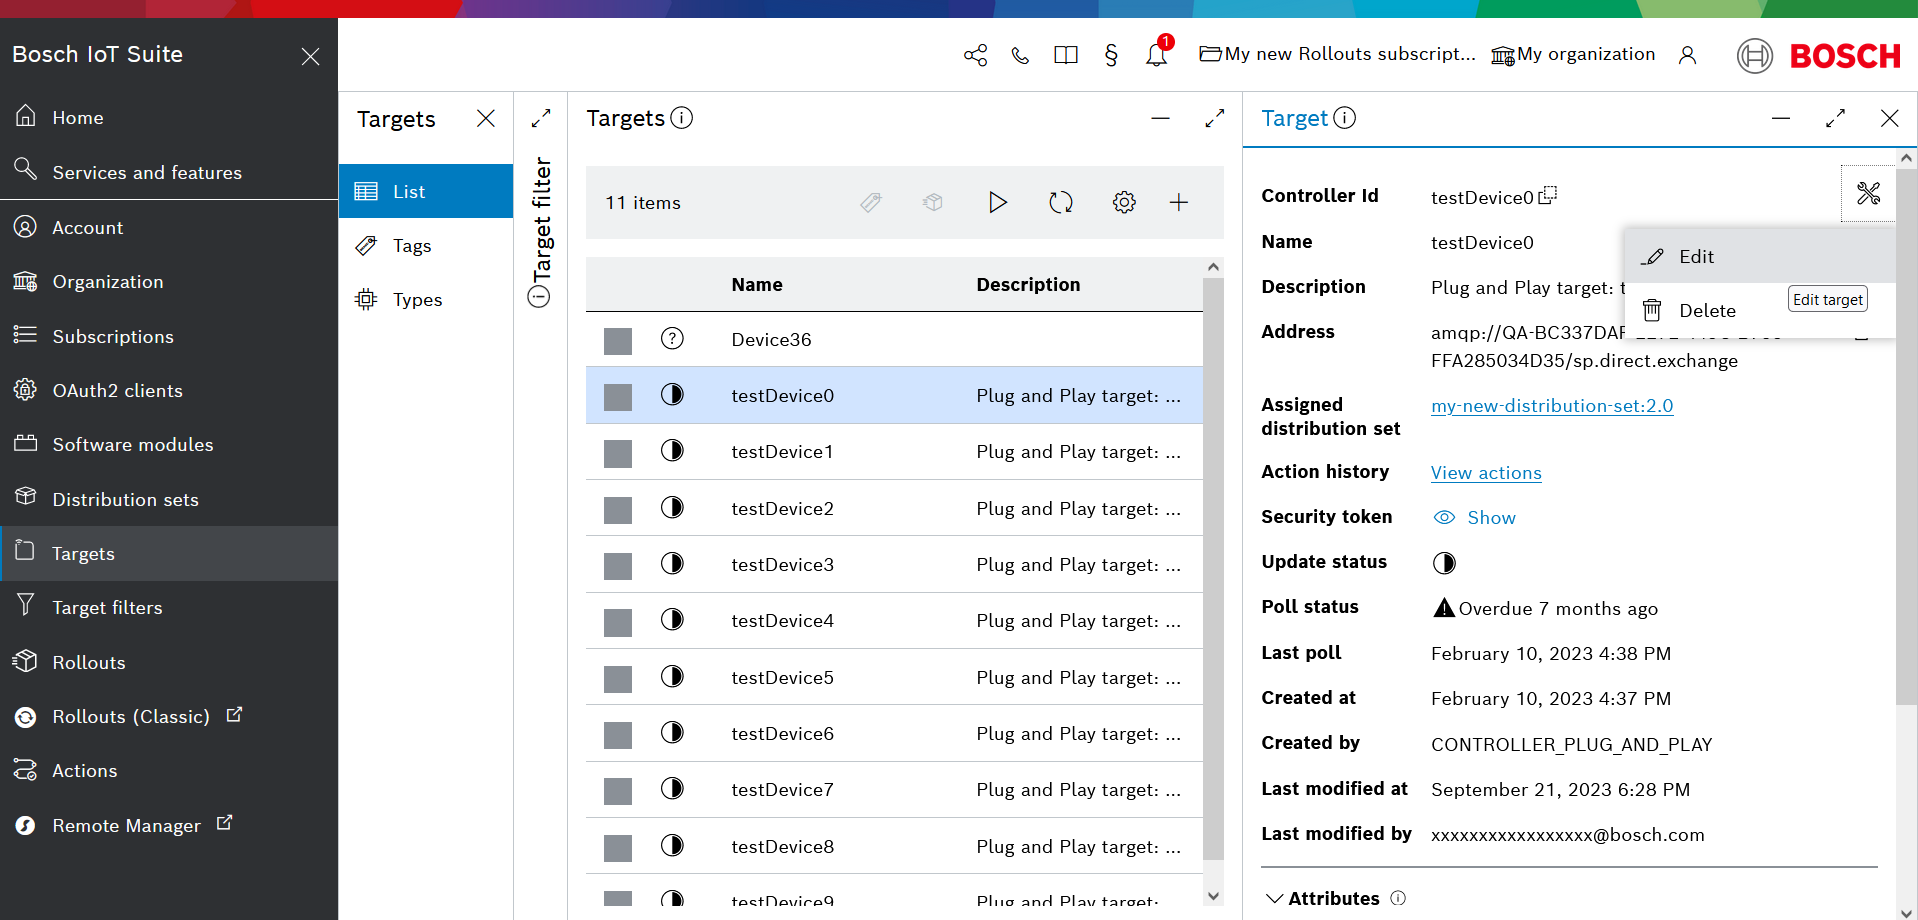
Edit a target
To edit a target, select it from the list and then open the target actions menu via the ![]() icon.
icon.
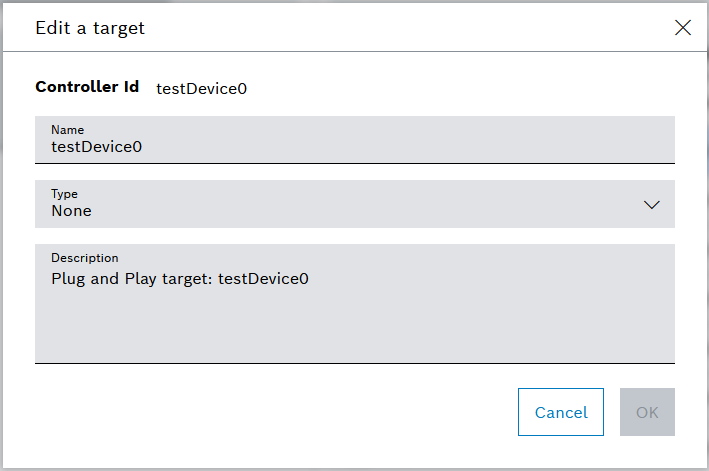
Then select Edit.
In the dialog that opens up you can type a new or edit the current Name and Description:
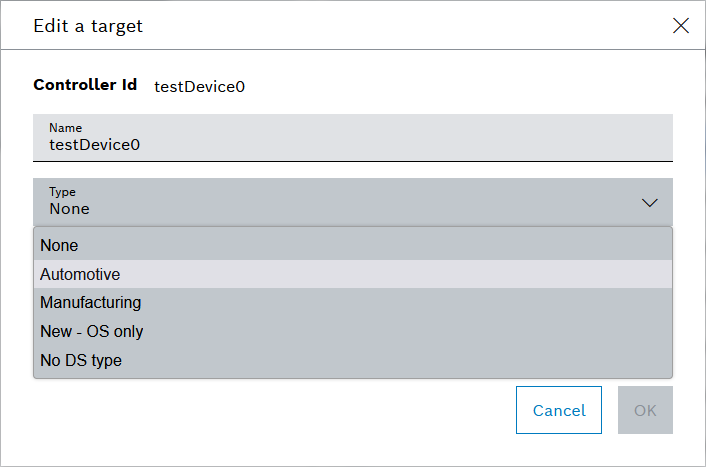
You can also select a new Type assigned to this target by using the dropdown:
Delete a target
To delete a target from your service instance, select a target on the list and then open the target actions menu via the ![]() icon.
icon.
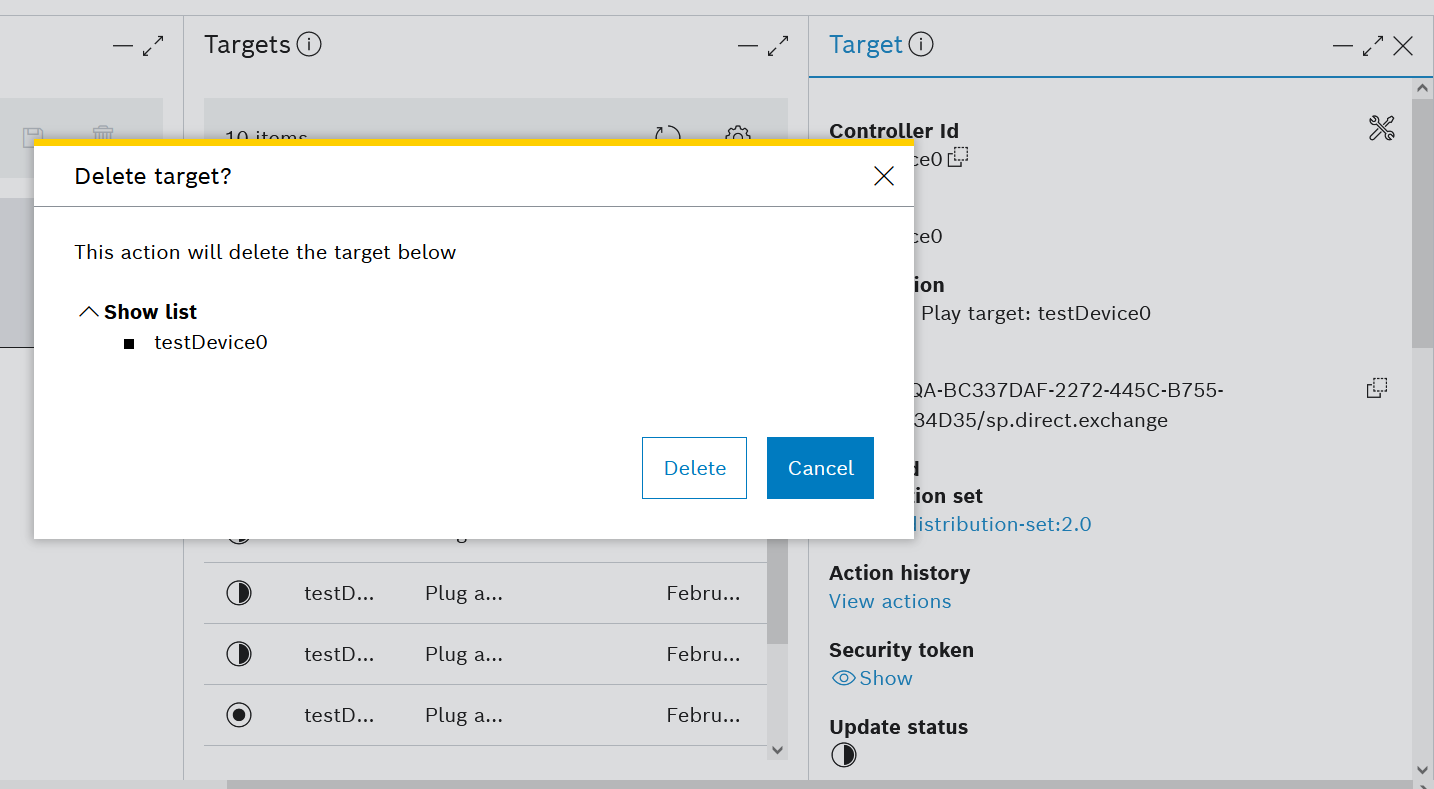
Then select ![]() Delete.
Delete.

A dialog will prompt you to confirm your choice.
Manage target metadata
To go through the basics of the Metadata section, visit Metadata.
On this page, we will focus on how you can manage it, i.e. on the respective create, edit, and delete actions.
In order to create a new metadata entry:
- Click the + icon on the right of the Metadata section (see the bottom of the rightmost column).
- Type in the desired Key and Value in the Add metadata pop up.
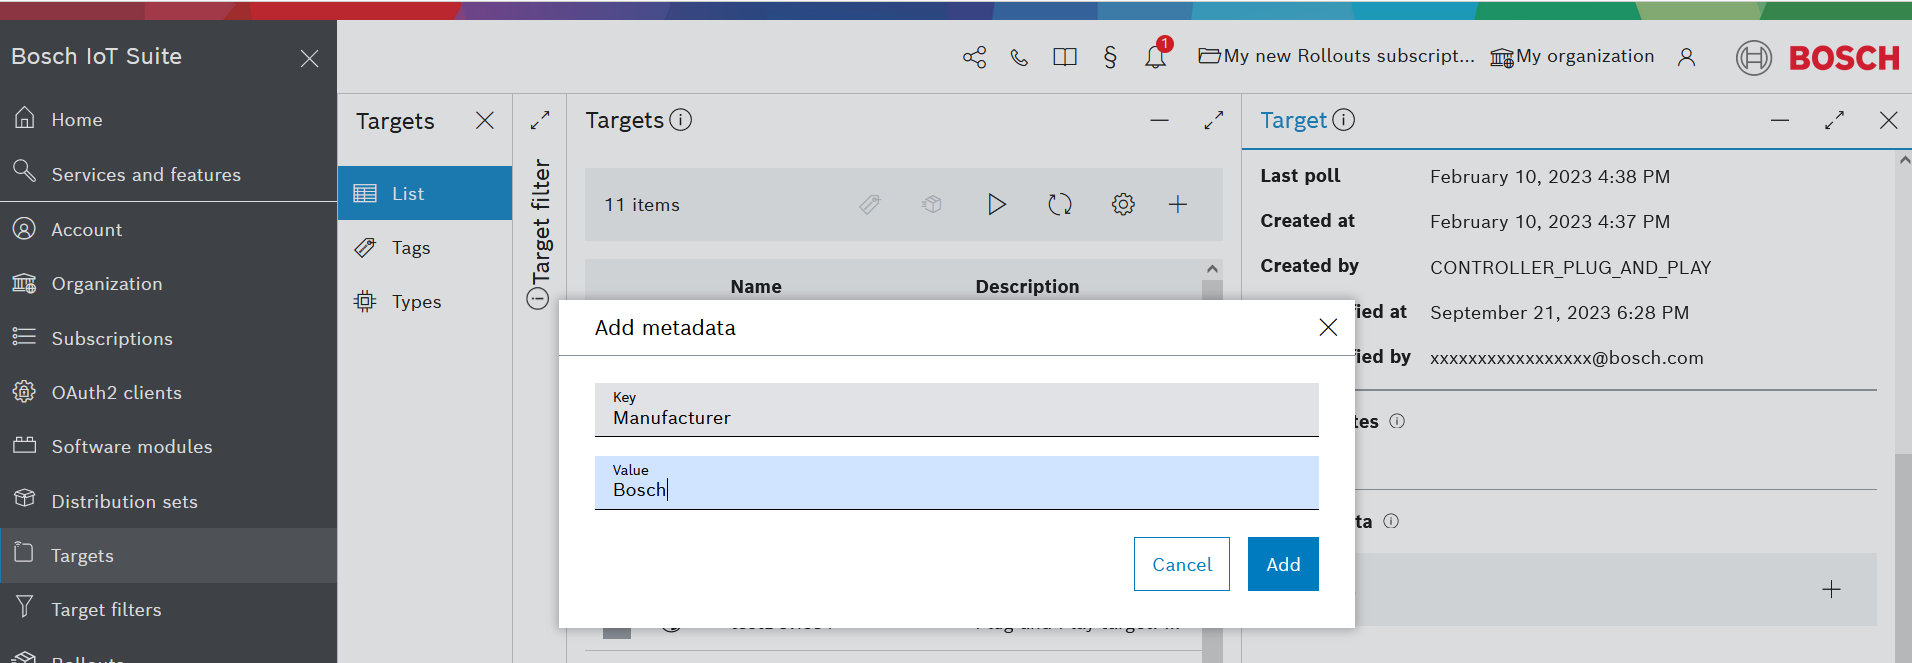
- Click Add.
- The new metadata entry will be then added to the list.
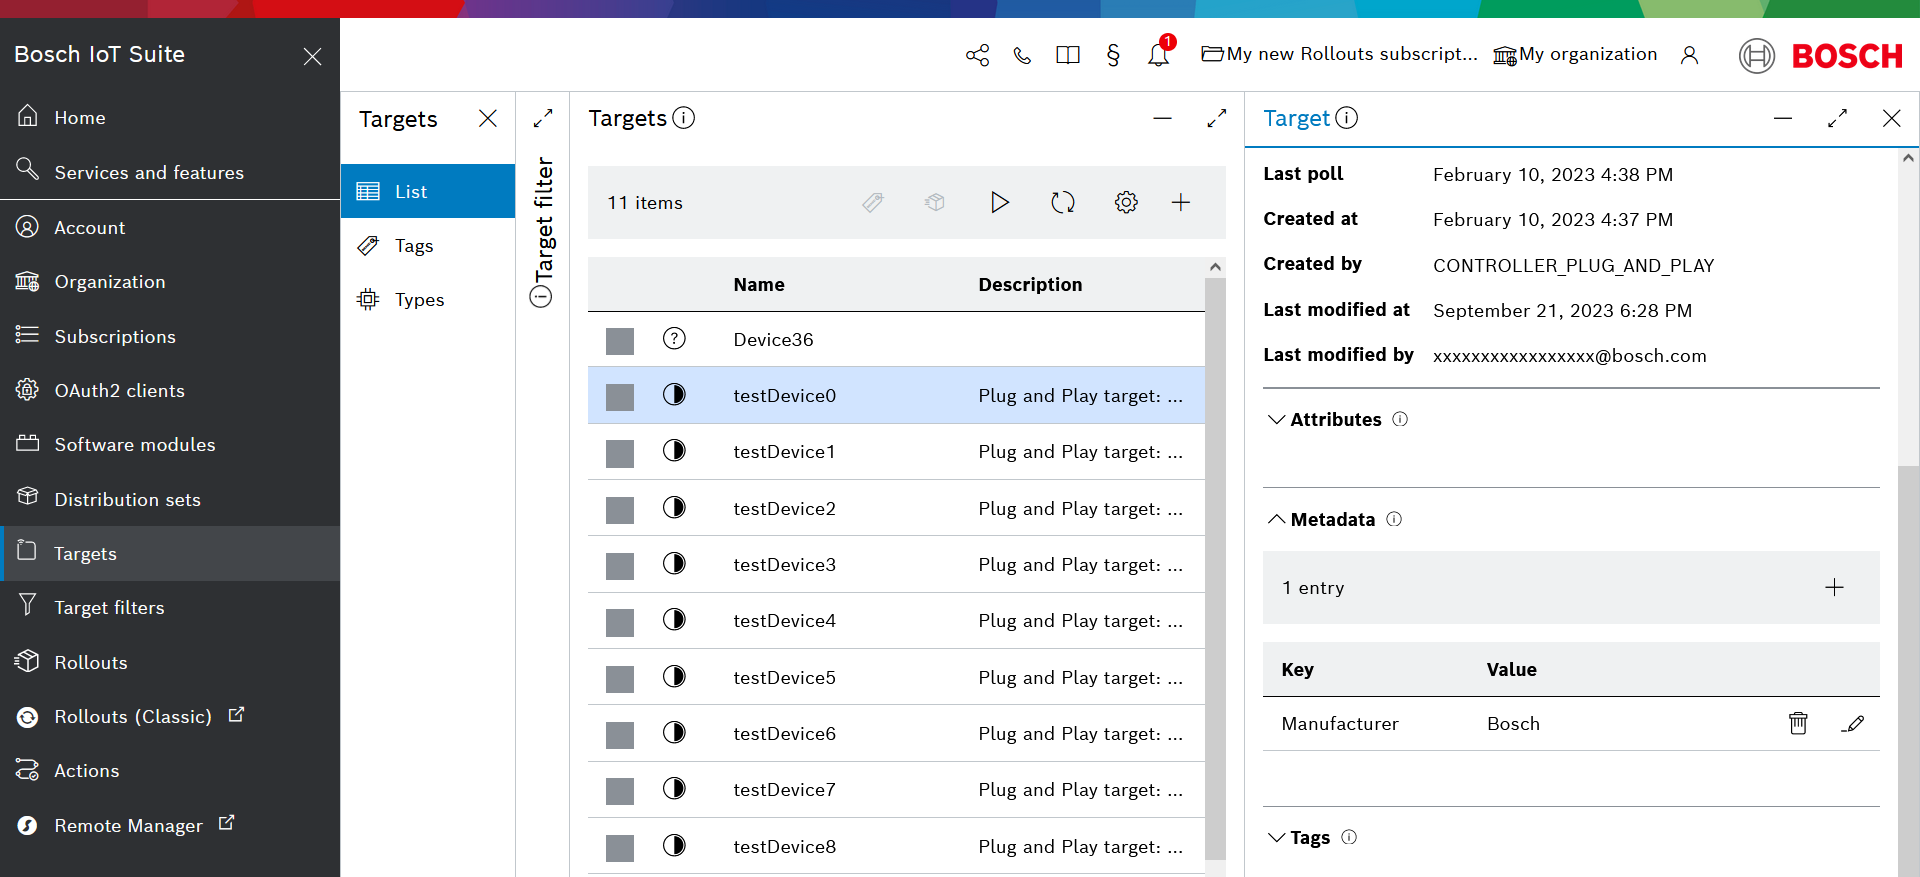
You can now delete or edit the value of each metadata entry using the corresponding icons on the right.
Assign selected targets to distribution
In some cases, it is convenient to assign a distribution set directly to one or a few selected targets.
To do that, follow these steps:
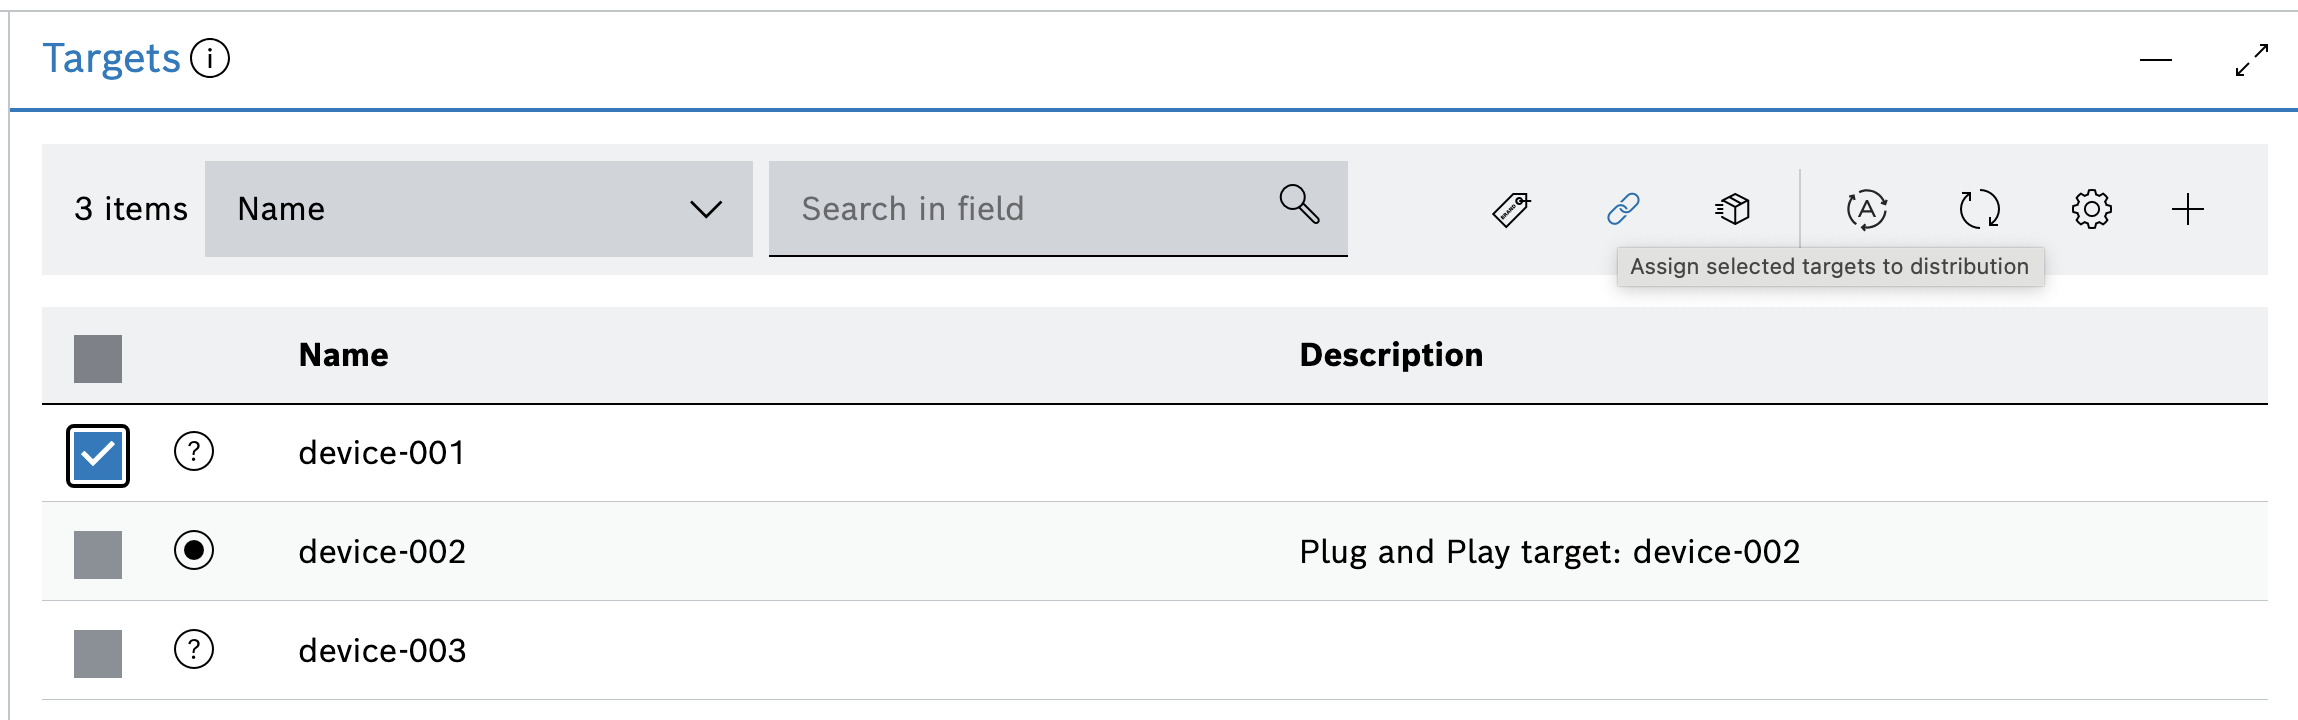
- While you are still in the Targets UI feature, select the targets to assign to a distribution set.
- Then click the first icon
 at the top of the target list (the tooltip says "Assign selected targets to distribution").
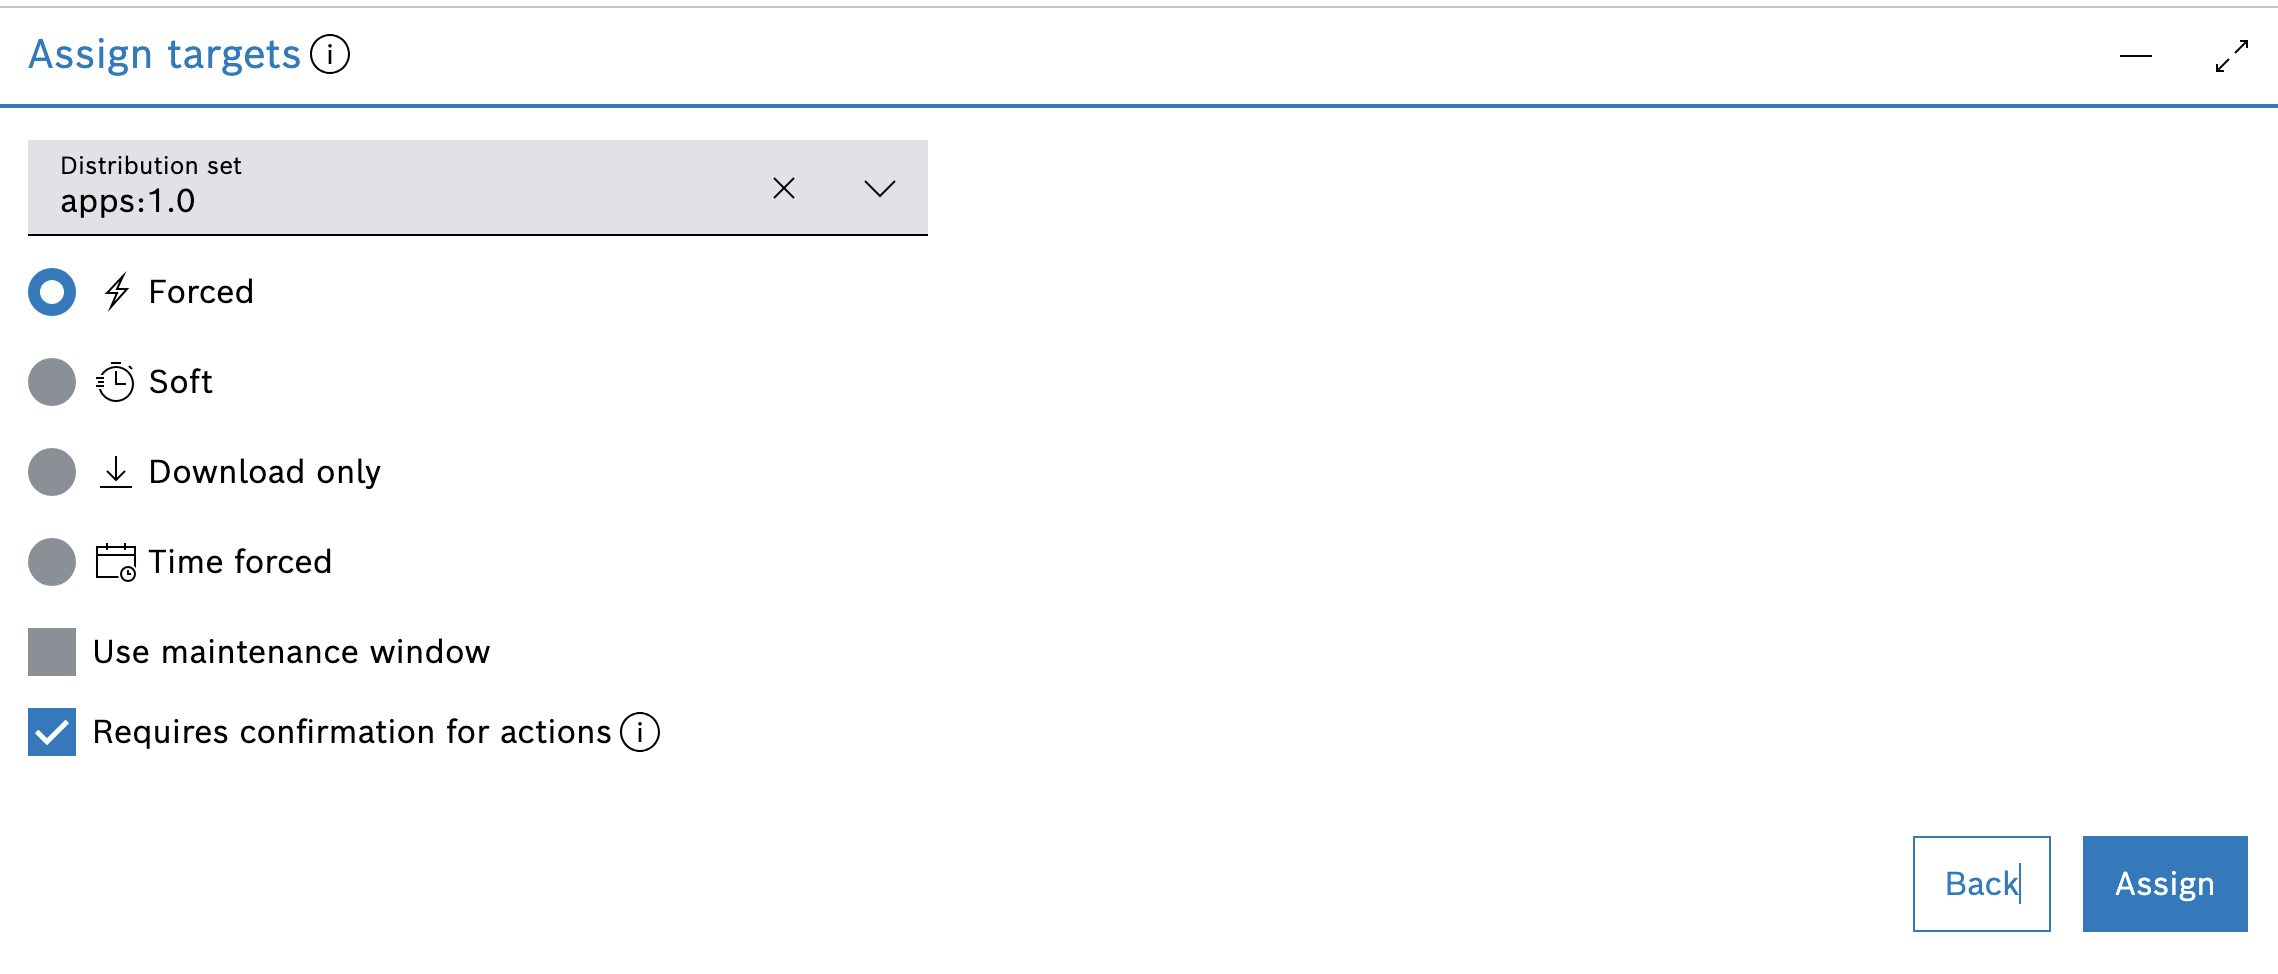
This will redirect you to the Distribution sets UI feature and its Assign targets. Select the distribution set to assign, the assignment type, and click Assign.
If the user consent flow feature has been enabled for the tenant, the Requires confirmation for actions option is enabled and selected by default.
Create a rollout on manually selected targets
In some cases, it is convenient to create a Rollout for a few selected targets, for example, to apply a hotfix.
To do that, follow these steps:
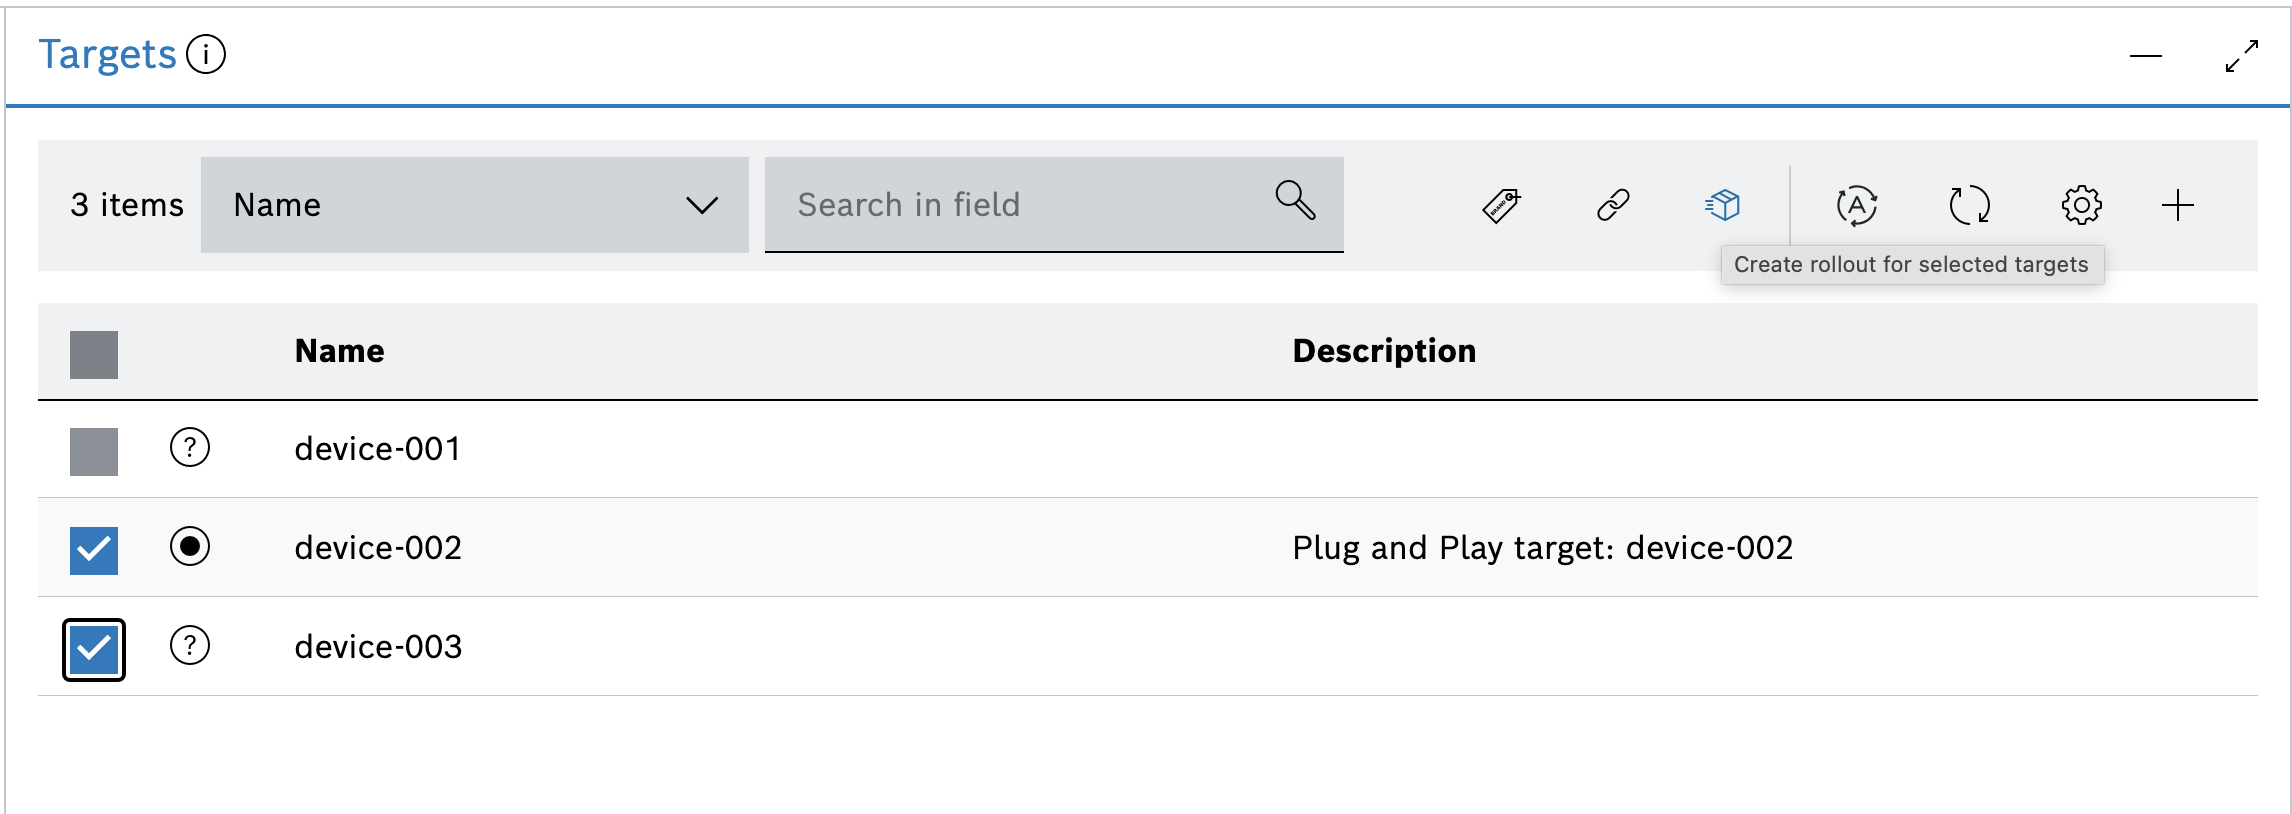
- While you are still in the Targets UI feature, select the targets to include in your rollout using the checkboxes next to them.
- Then click the first icon
 at the top of the target list (the tooltip says "Create rollout for selected targets").
This will redirect you to the Rollouts UI feature and its Create rollout wizard. How to navigate through the wizard is explained in Create a Rollout.
If you manually select too many targets and the generated query exceeds the length restriction, you will be prompted to create a rollout with a pre-saved target filter, as described in Create a Rollout.