Tags are descriptive strings used to identify and organise targets.
This page will guide you through creating, viewing, and managing tags.
All tag-related functionality can be accessed through the Targets UI section in the main navigation. Within the Targets UI, you can find the Tags option in the sub-navigation menu.
Creating a tag
To create a tag, click the Create Tag button located at the top of the tags list.
A popup will appear, prompting you to provide a name for the tag and an optional description.
Additionally, you can choose to assign the tag to multiple targets by uploading a comma-separated values (CSV) file containing the Controller IDs of the targets. If this option is selected, clicking Create will both create the tag and automatically apply it to all the targets listed in the file.
If the option "Assign targets to tag" is not selects, the tag will only be created and not applied to any targets.
Assign a tag to targets
Manual assignment
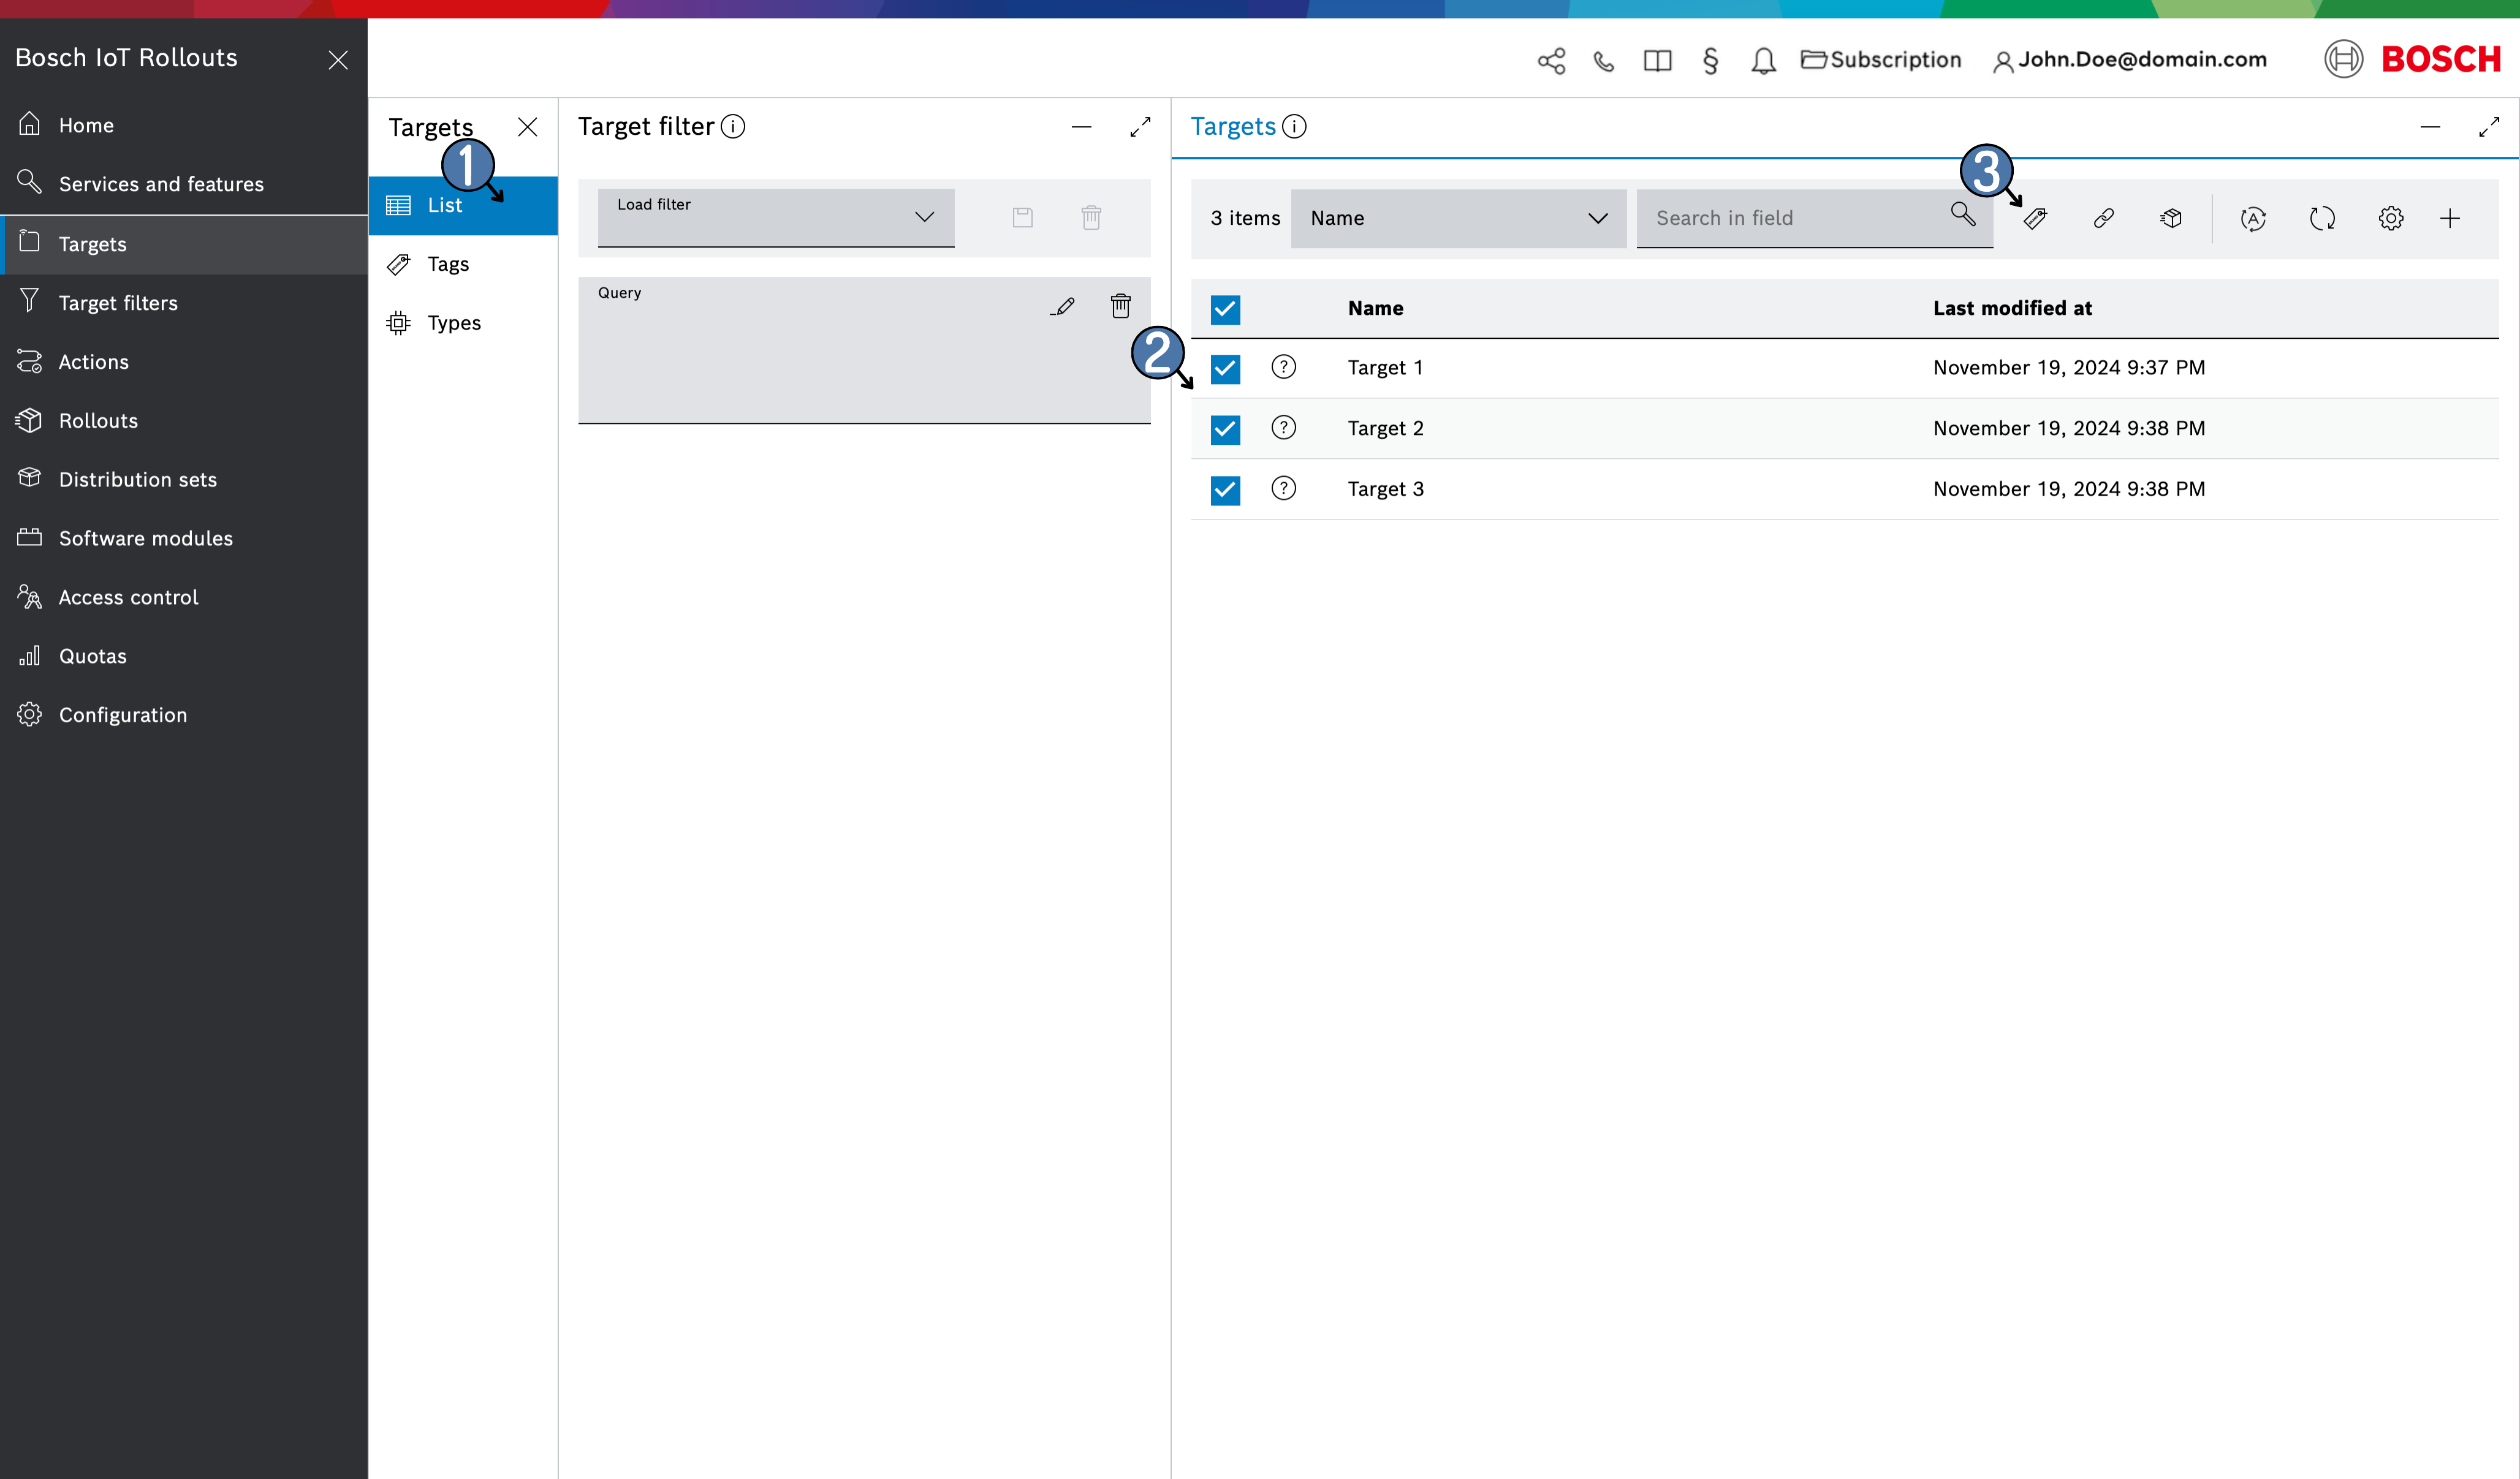
- Navigate to the targets List in the sub-navigation menu. This will display the Targets blade on the right, showing all registered targets.
- Select the target(s) you want to tag.
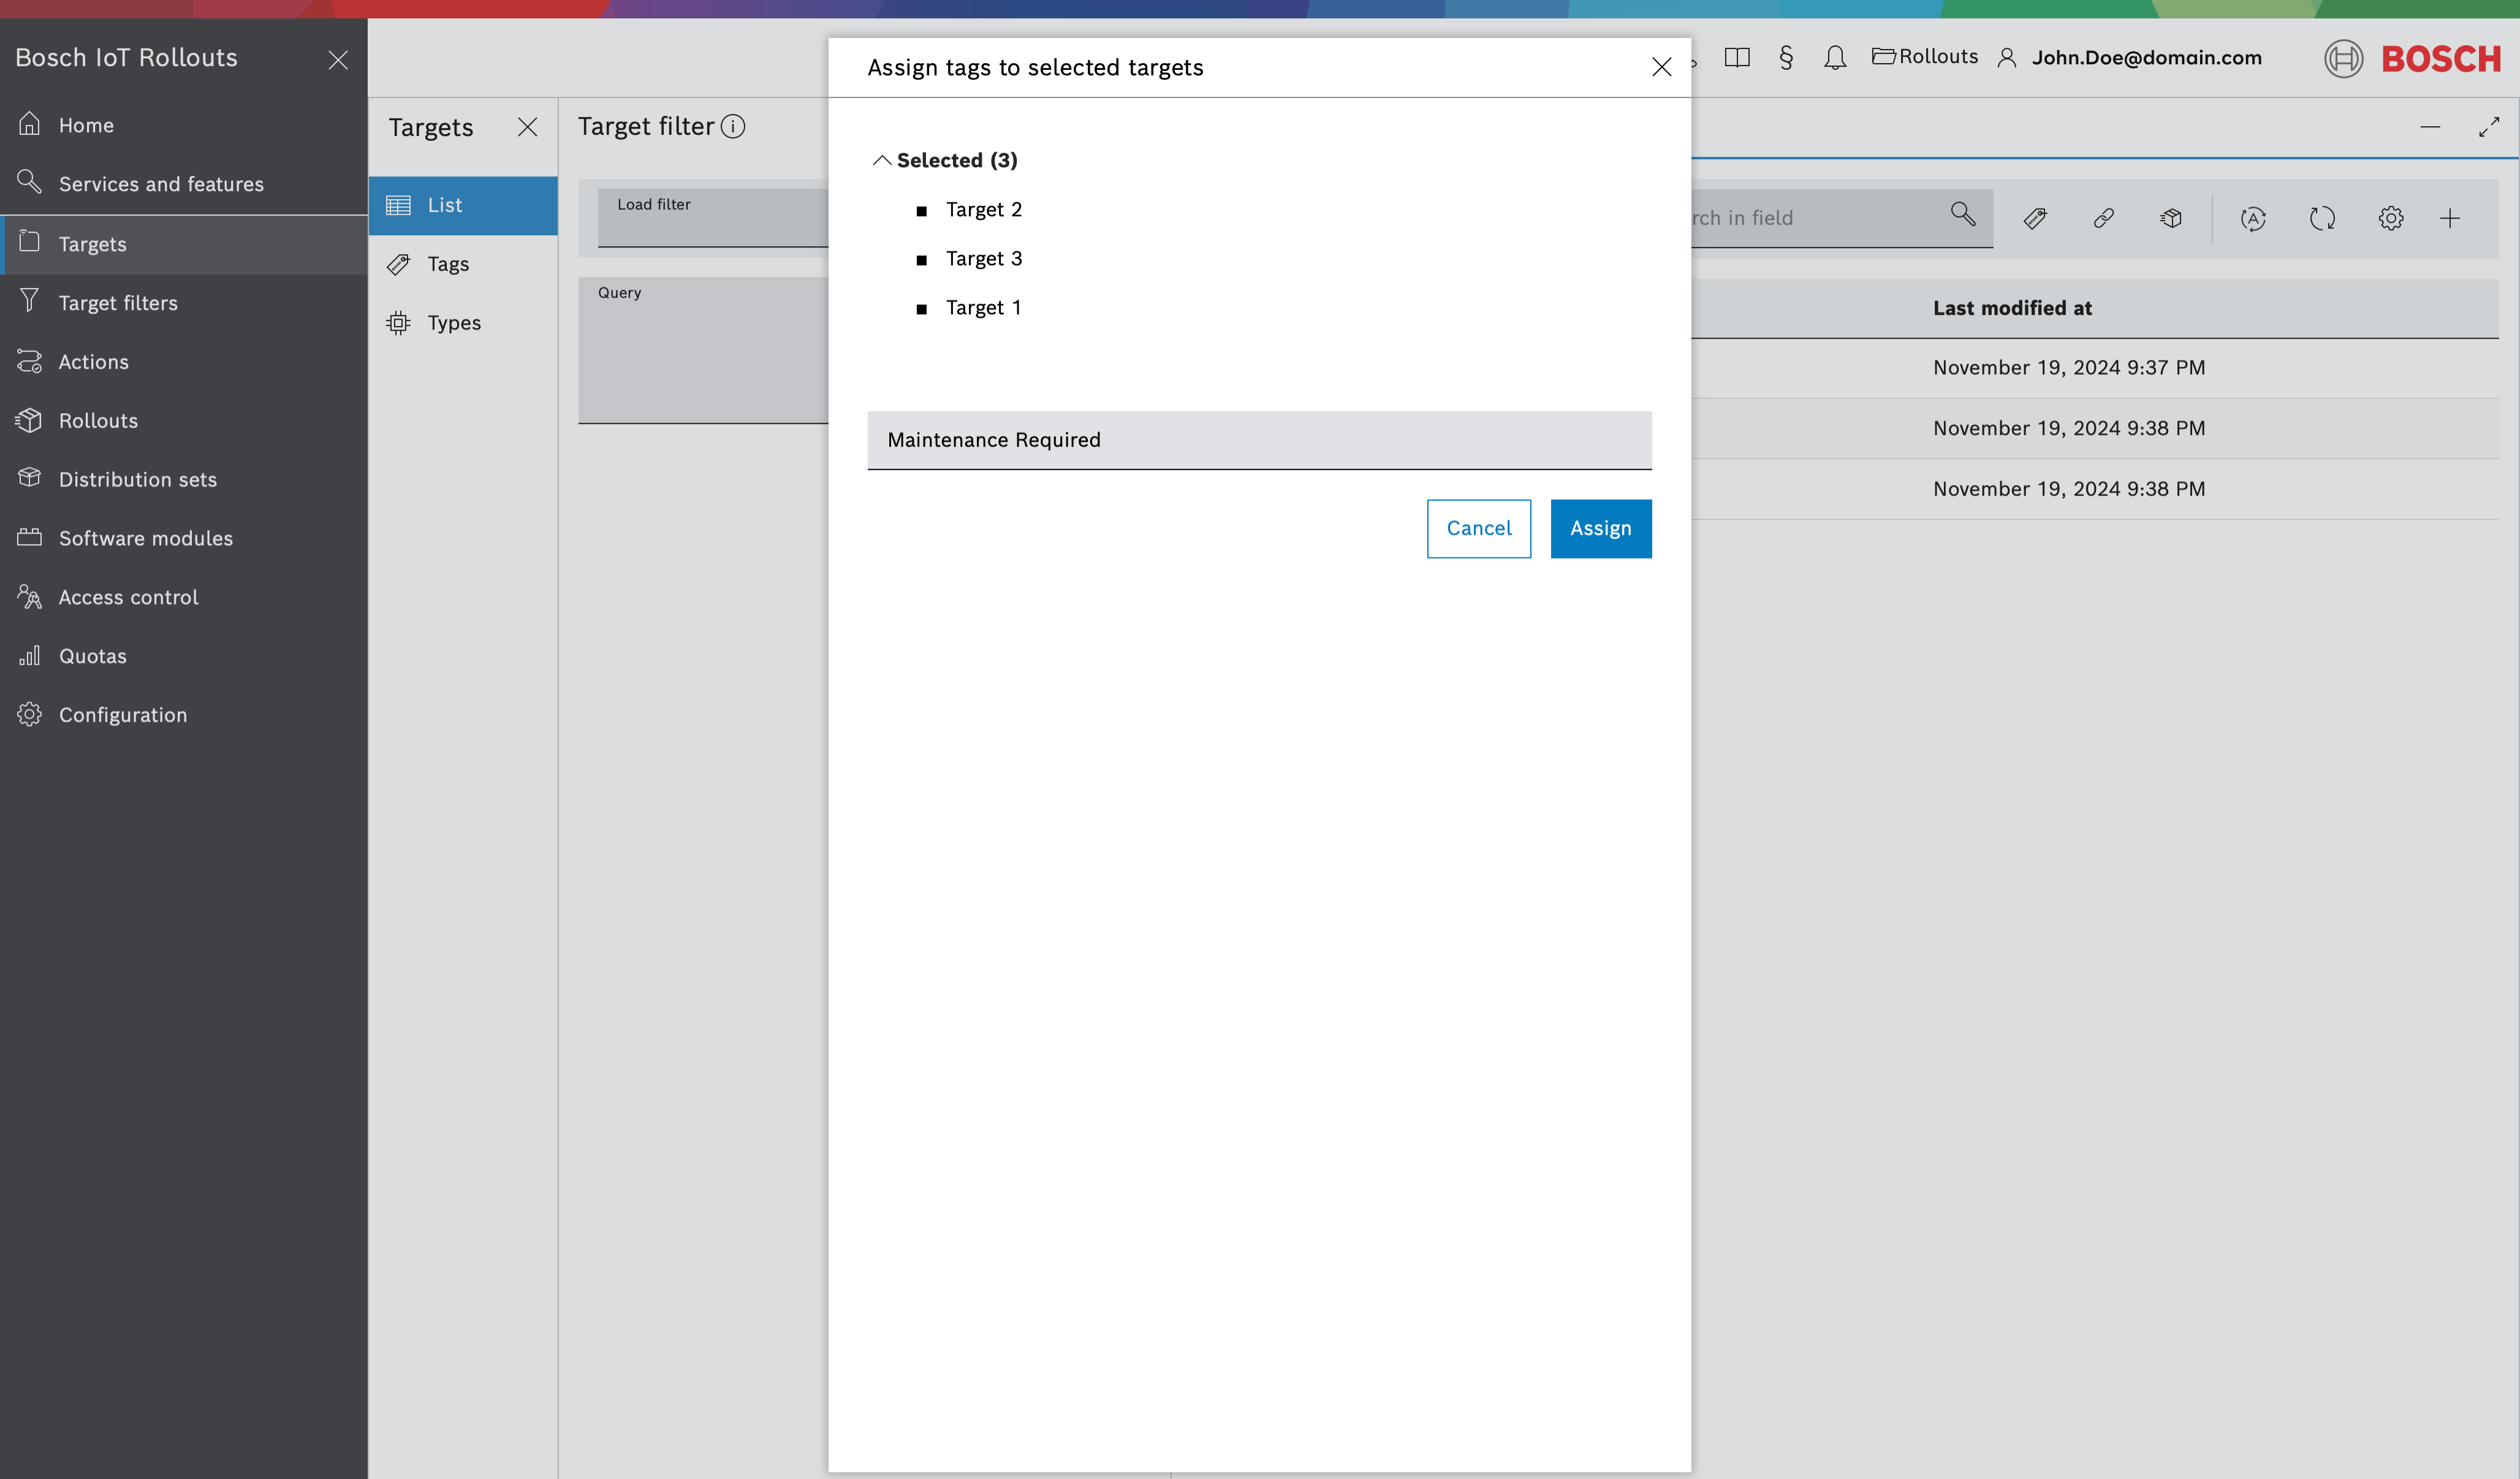
- Once selected, the Assign Tags to Selected Targets button becomes active. Click it to proceed.
In the Assign tags to selected targets dialog that shows up, type in the name of a desired tag.
- If such a tag already exists, you will see a list of auto-suggestions after typing the first two symbols of the name.
- If the tag doesn't exist - it will be automatically created and assigned to the desired targets.
Click Assign.
Automatic assignment
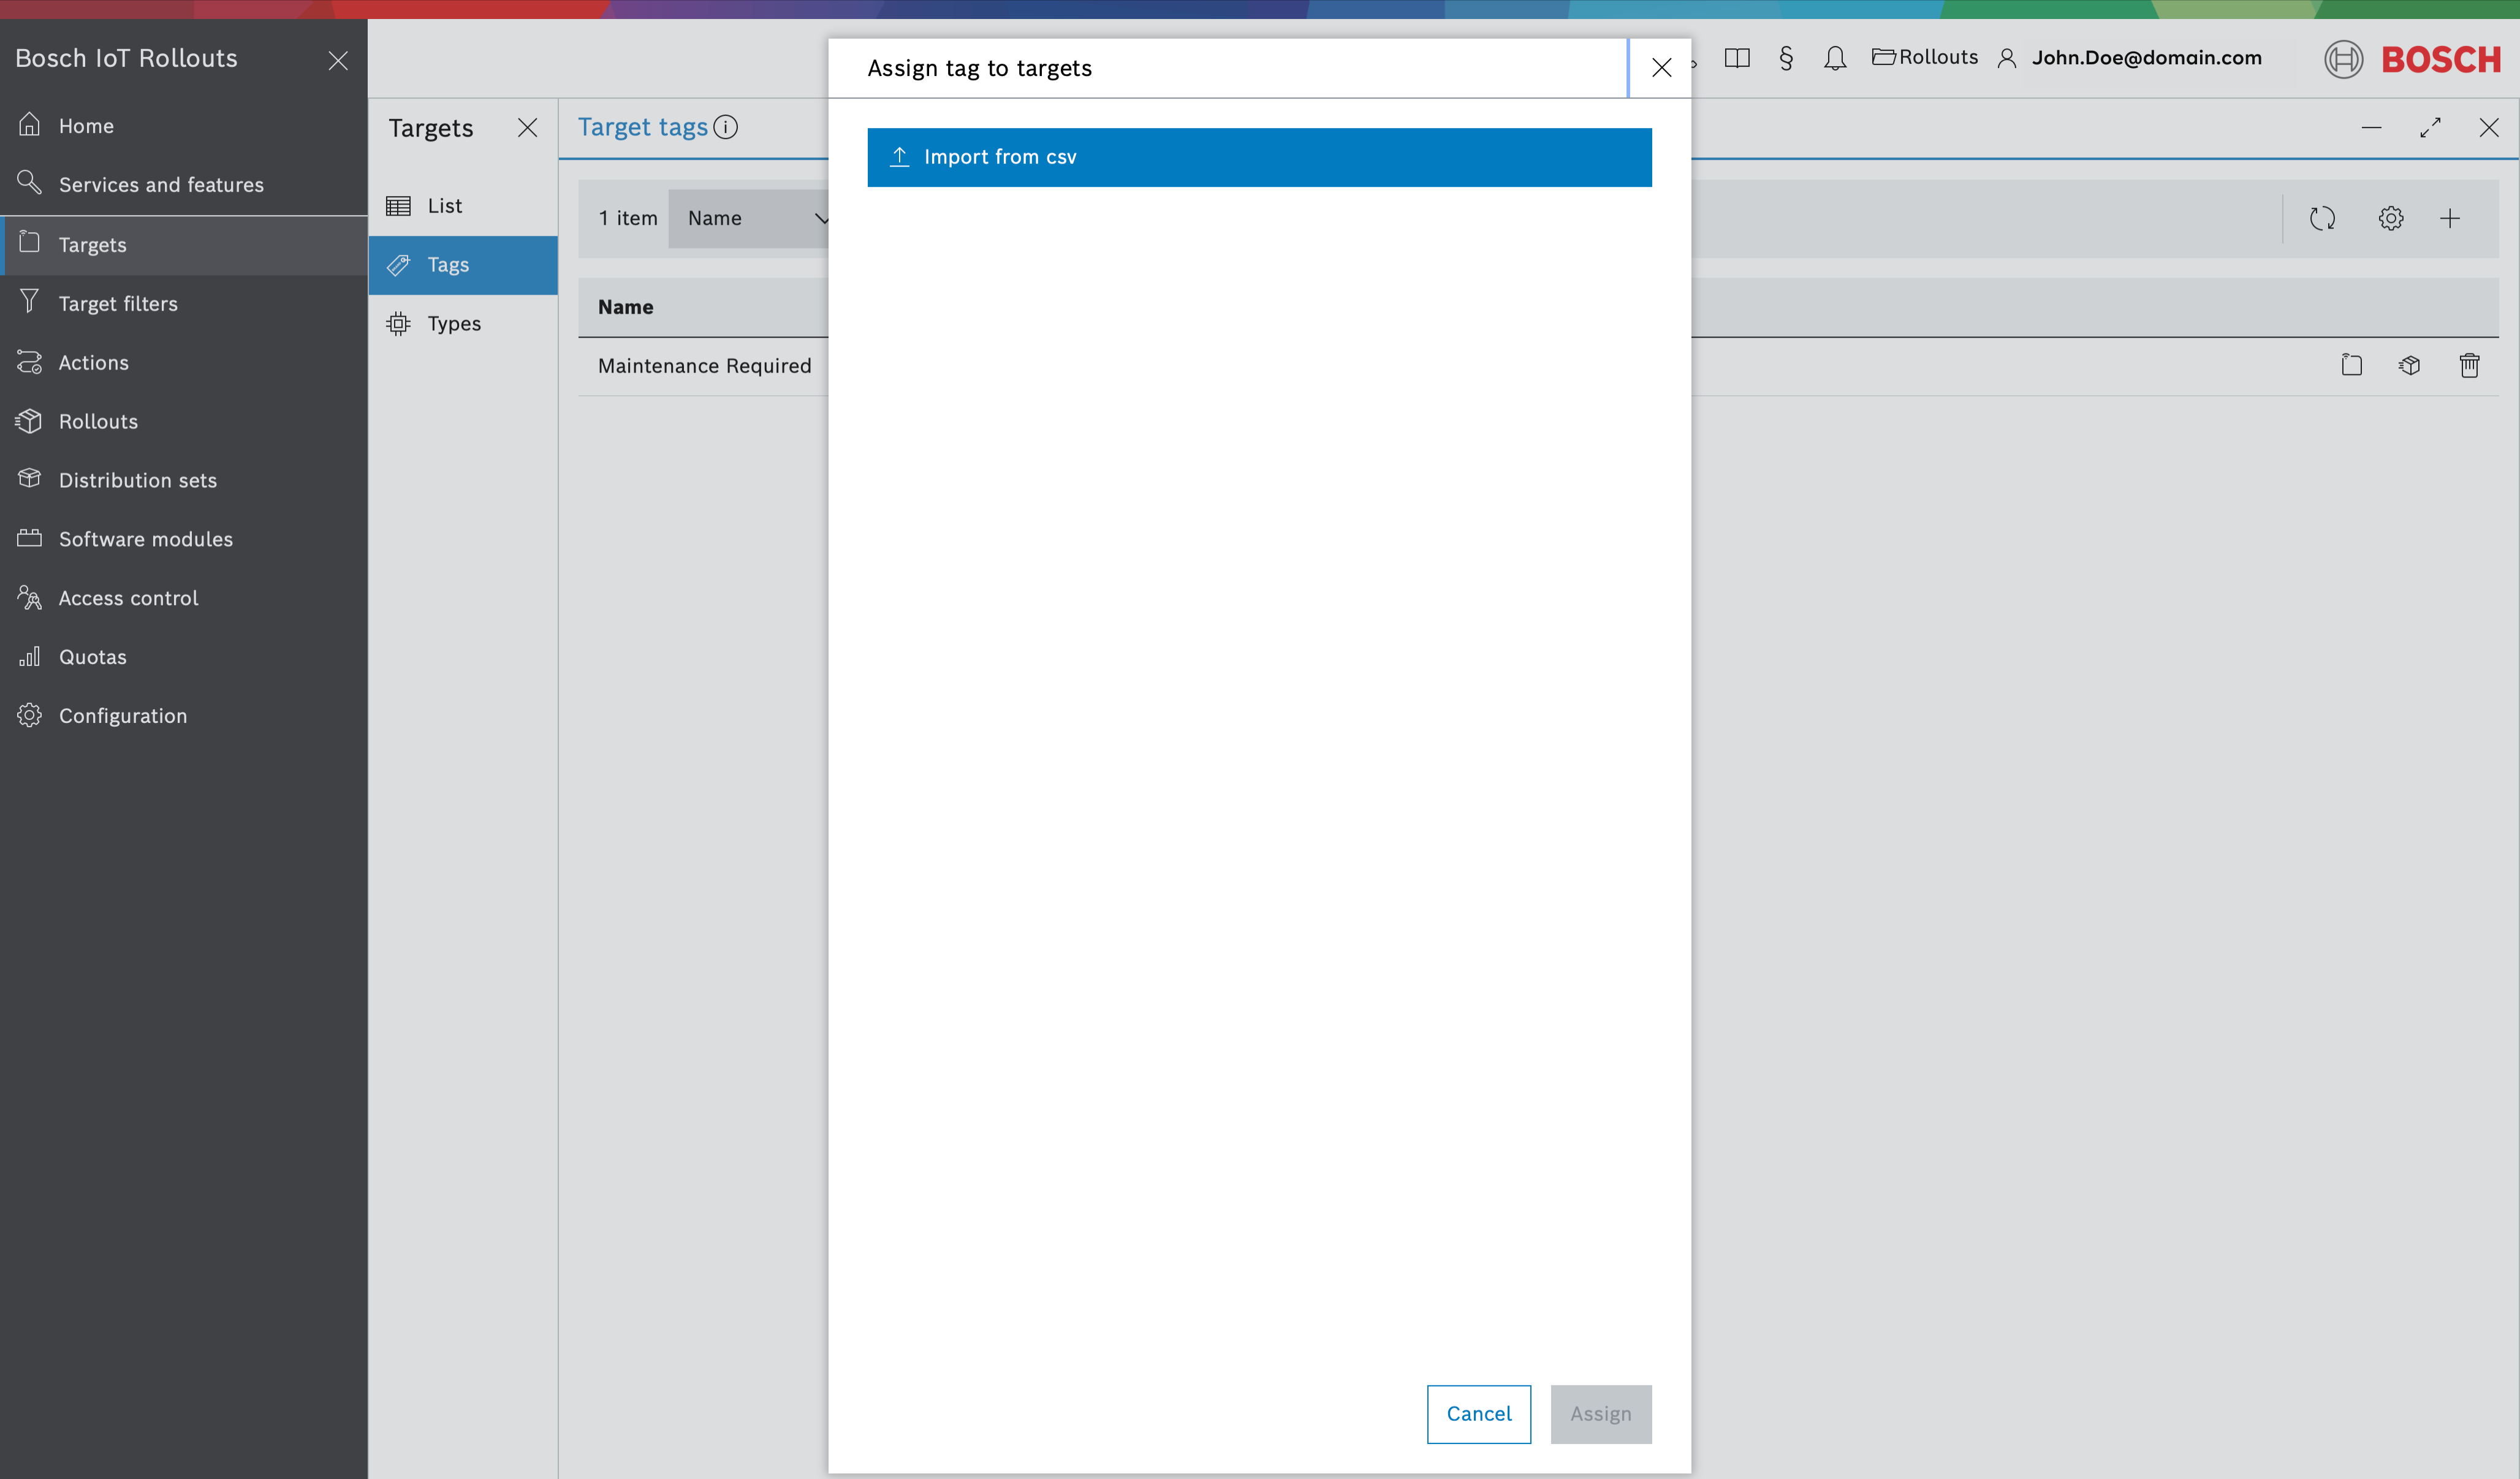
To automatically assign a tag to multiple targets, navigate to the Tags sub-navigation menu. Locate the desired tag in the list and click the Assign to targets button.
You will be prompted to upload a CSV file containing the list of targets to be tagged.
Tag assignment may fail for one, several, or all targets in the list. If an assignment fails, an error message will be displayed, along with a Copy button.
Clicking this button will copy a list of all targets for which the assignment failed.
CSV file formats
Automatic tag assignment supports three different CSV file formats.
Single-Line Format: Targets are listed on one line, separated by commas (make sure there are no trailing new lines):
target_1,target_2,target_3Multi-Line Format: Each target is listed on a separate line:
target_1target_2target_3Multi-Line Format with Header: A CSV file that includes a header row. The header must contain the keyword controllerid, and target IDs should align with the controllerid field in each subsequent row.
controllerid,created_at,descriptiontarget_1,19.11.2024,Bosch IoT Targettarget_2,19.11.2024,Bosch IoT Targettarget_3,19.11.2024,Bosch IoT Target
View and unassign target tags
Once you assign the tag, you can check if the process was successful by:
- Selecting a target with an assigned tag.
- Scrolling down to the bottom of its Target view.
- Expanding the Tags section to view the tags assigned to this target.
You can easily unassign the tag by clicking the X icon on its right side.
This action will not delete the tag itself, but just unassign it from the target.
List all target tags
You can also view all created tags regardless of whether they are assigned to a target or not.
- Select Тags from the sub-navigation. The Target tags view will display a list of all existing tags.
You have 3 actions for each tag: - Assign tag to targets - assign the tag to multiple targets by uploading a comma-separated values (CSV) file containing the Controller IDs of the targets.
- Create Rollout with tagged targets - prompts you with the Rollout creation wizard with a pre-applied target filter matching the targets with the particular tag assigned.
- Delete - deleting the tag will also un-assign the tag from all targets.


