Devices (aka targets) can be provisioned and registered in Bosch IoT Rollouts in the following ways:
Scenario 1: Provisioning and registration
In this scenario, you first provision the device using the Management UI or the Management API. This is the step where you provide the device identification and description.
Then the provisioned device can register itself via the Direct Device Integration (DDI) API (DDI). This is the step where the device authenticates itself with its security token.
Scenario 2: Direct registration
In this scenario, the device itself, or a device-management service, directly identifies and authenticates itself with Bosch IoT Rollouts via the Direct Device Integration API (described in the current guide), or the Device Management Federation API (described in API references).
The different scenarios are explained in more detail below.
Table of contents:
Scenario 1: Provisioning and registration
As already mentioned, this scenario can be fulfilled from different entry-points. Each of them is explained below.
Provisioning
Via Management UI
Provisioning a device via the Management UI is straightforward:
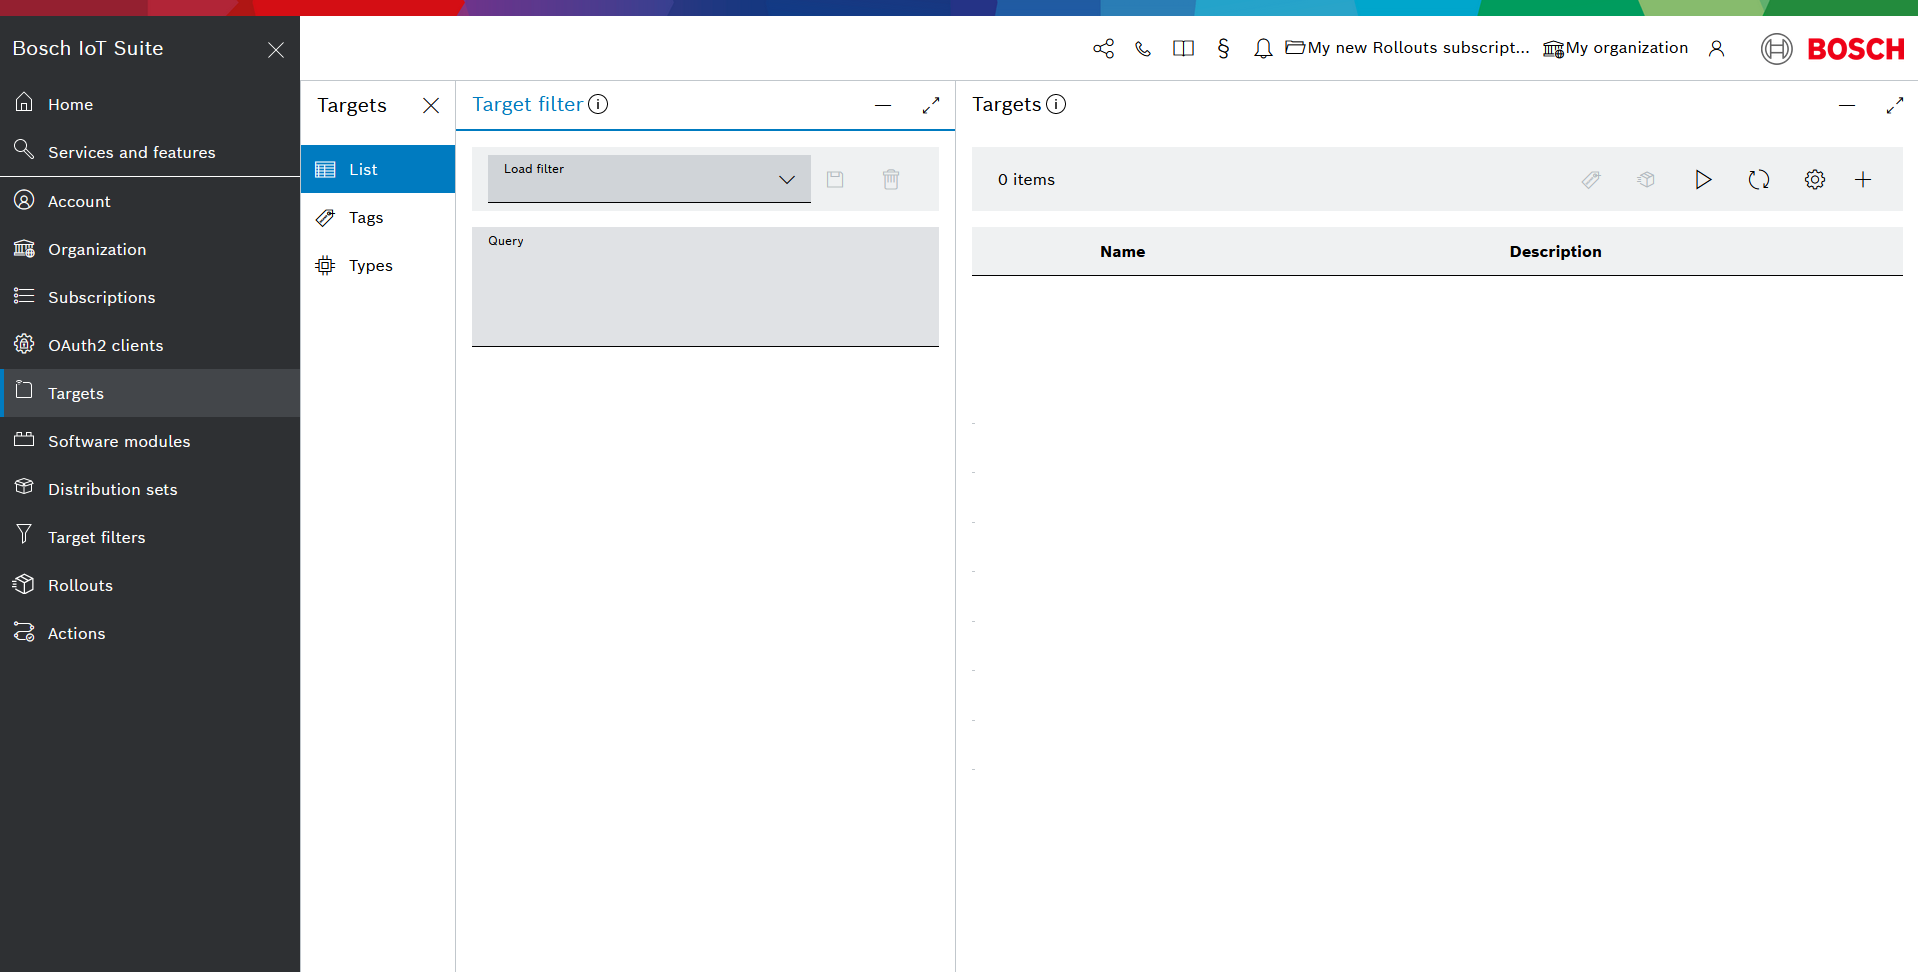
- Once you are in the UI and in the context of your relevant subscription, open Targets from the left navigation.
- The List menu of the sub-navigation opens by default.
- In the Targets view on the right, click the + icon.
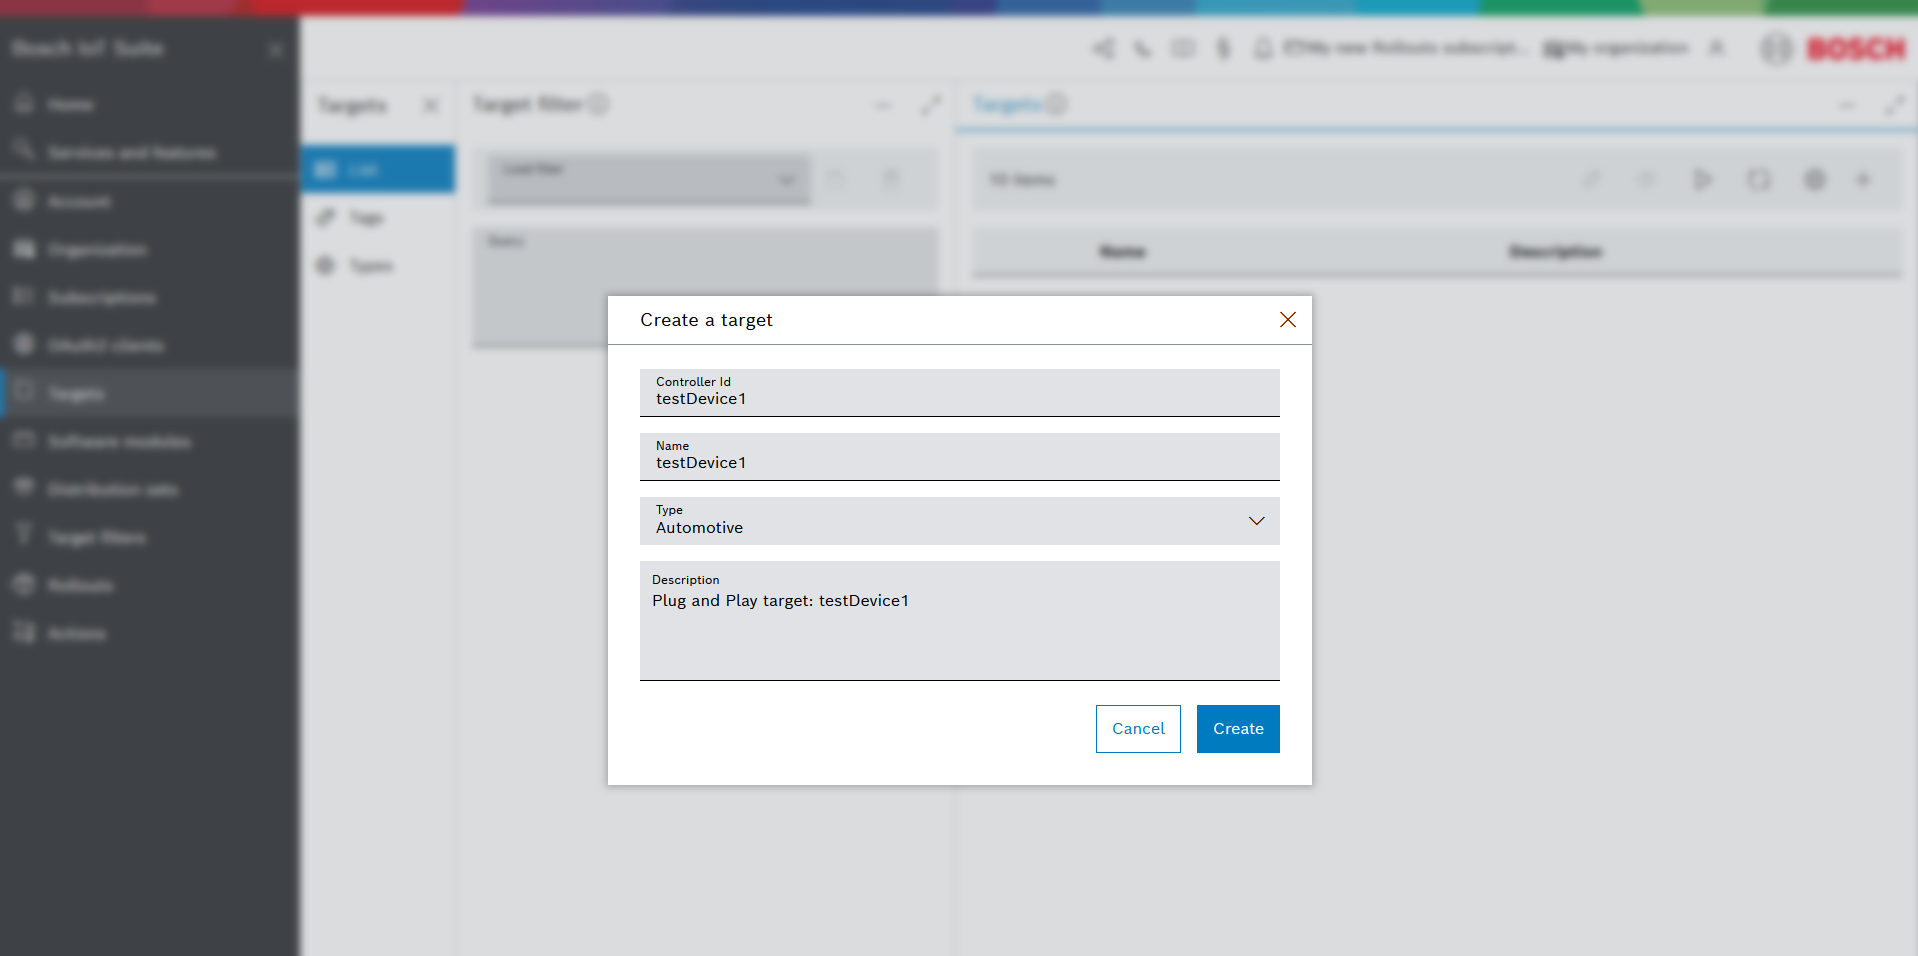
- In the dialog that opens, fill in the fields:
- Controller Id - a mandatory unique ID for the target.
- Name - an optional user-friendly name. If one is not entered, the Controlled Id is assigned as Name as well.
- Type - an optional type (see Manage target types).
- Description - an optional description of the target .
- Click Create.
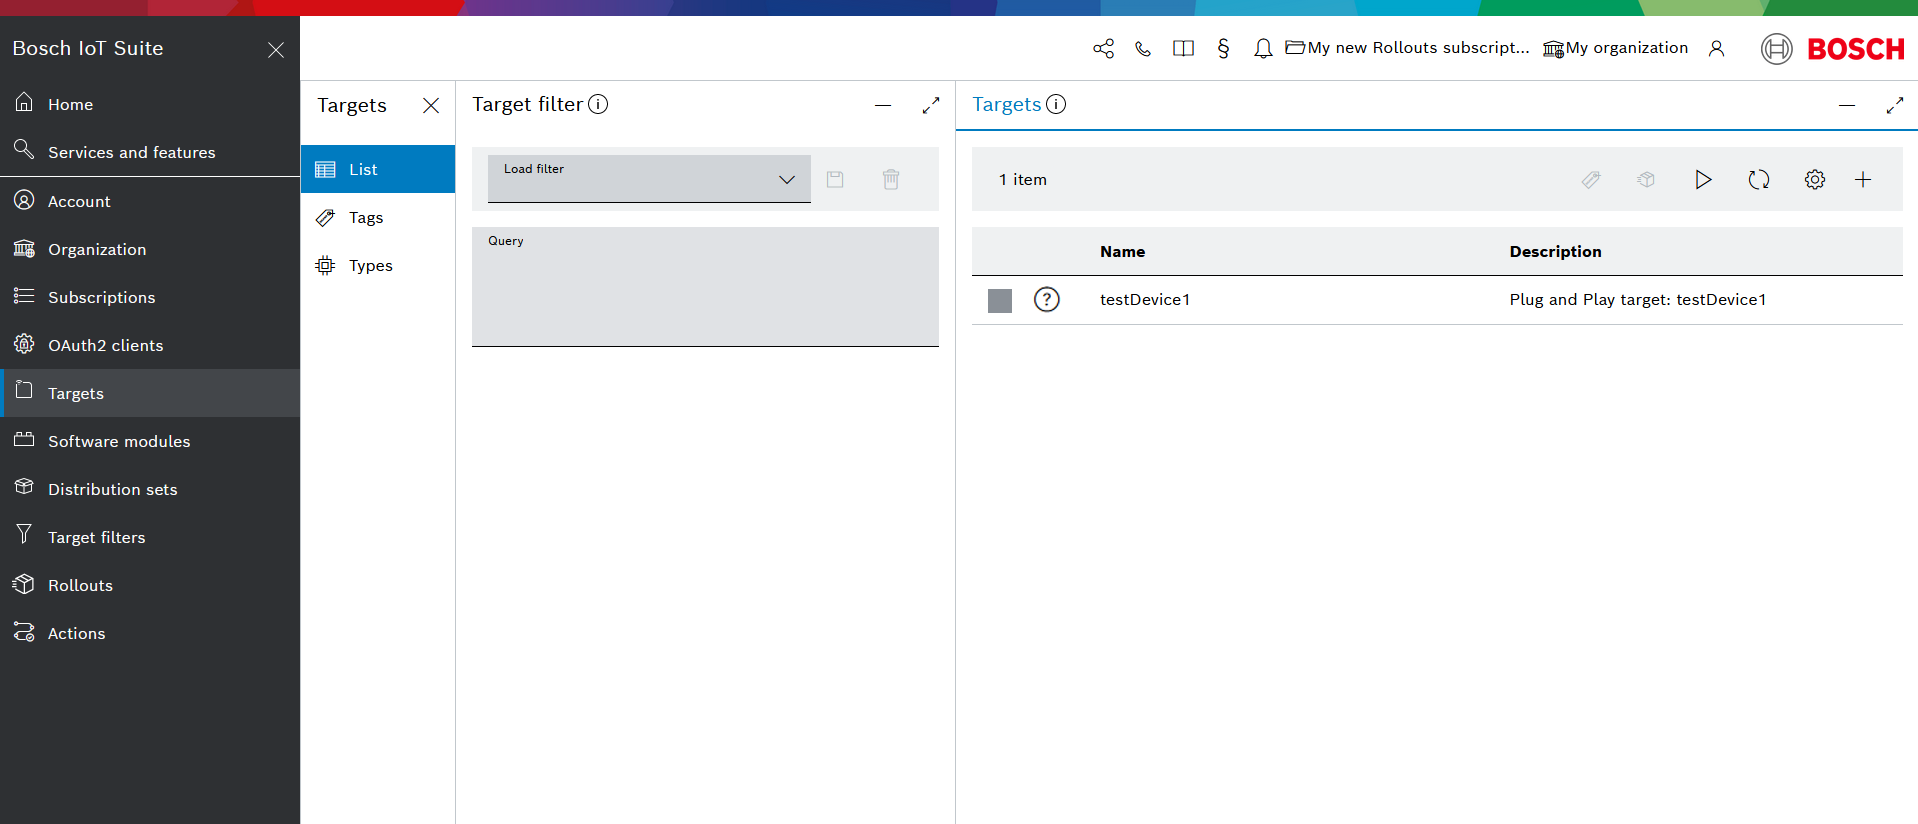
The target will be shown as part of the Targets list. Until it connects for the first time, its state will be UNKNOWN, which is indicated by the question mark icon.
Via Management API
As an alternative to the process described in the previous section, you can provision a device with a single call to the Management API, as in the example below.
This code example includes token placeholders that need to be replaced. How to find the respective tokens for your subscription is explained in Getting started > API Replacement Token.
$ curl 'https://<HOST>/rest/v1/targets' -u "<TENANT_ID>\<USERNAME>:<PASSWORD>" -i -X POST -H 'Content-Type: application/json;charset=UTF-8' -d '[ { "controllerId" : "testDevice1", "name" : "testDevice1", "description" : "Plug and Play target: testDevice1"} ]'[ { "createdBy": "CLD:83717175-0650-400a-b6f2-9a4a398fc07a", "createdAt": 1530533483880, "lastModifiedBy": "CLD:83717175-0650-400a-b6f2-9a4a398fc07a", "lastModifiedAt": 1530533483880, "name": "testDevice1", "description": "My first Device created via Management API.", "controllerId": "testDevice1", "updateStatus": "unknown", "securityToken": "51b8e7fb97fe10bd49a57ca39f19677d", "requestAttributes": true, "_links": { "self": { "href": "https://<HOST>/rest/v1/targets/device02" } } }]Once your device is provisioned, you can continue with the next steps - device registration, updating its attributes, and adding metadata.
Registration
To complete the whole process, the provisioned device can register itself via the Direct Device Integration (DDI) API (DDI API).
- Go to the Configuration UI feature.
- Enter edit mode by clicking the Edit icon on the top right.
- Enable the option Allow targets to authenticate directly with their target security token.
- Then save the new configuration by clicking the Save icon on the bottom of the page.
After this authentication option is enabled, poll the device’s DDI resource by executing the code from the example below.
The target security token and the other replacement tokens for your subscription can be found as explained in Getting started > API Replacement Token.
$ curl 'https://<HOST>/<TENANT_ID>/controller/v1/testDevice1' -i -H 'Accept: application/hal+json' -H 'Authorization: TargetToken <TARGET_TOKEN>'{ "config": { "polling": { "sleep": "00:05:00" } }, "_links": { "configData": { "href": "https://<HOST>/<TENANT_ID>/controller/v1/testDevice1/configData" } }}Check whether the target state has now changed from UNKNOWN to REGISTERED .
Add attributes
By following the link to configData provided in response to the last call, you can add some attributes to the device. In the code example below, we have shown how to add two attributes, namely hwRevision and VIN.
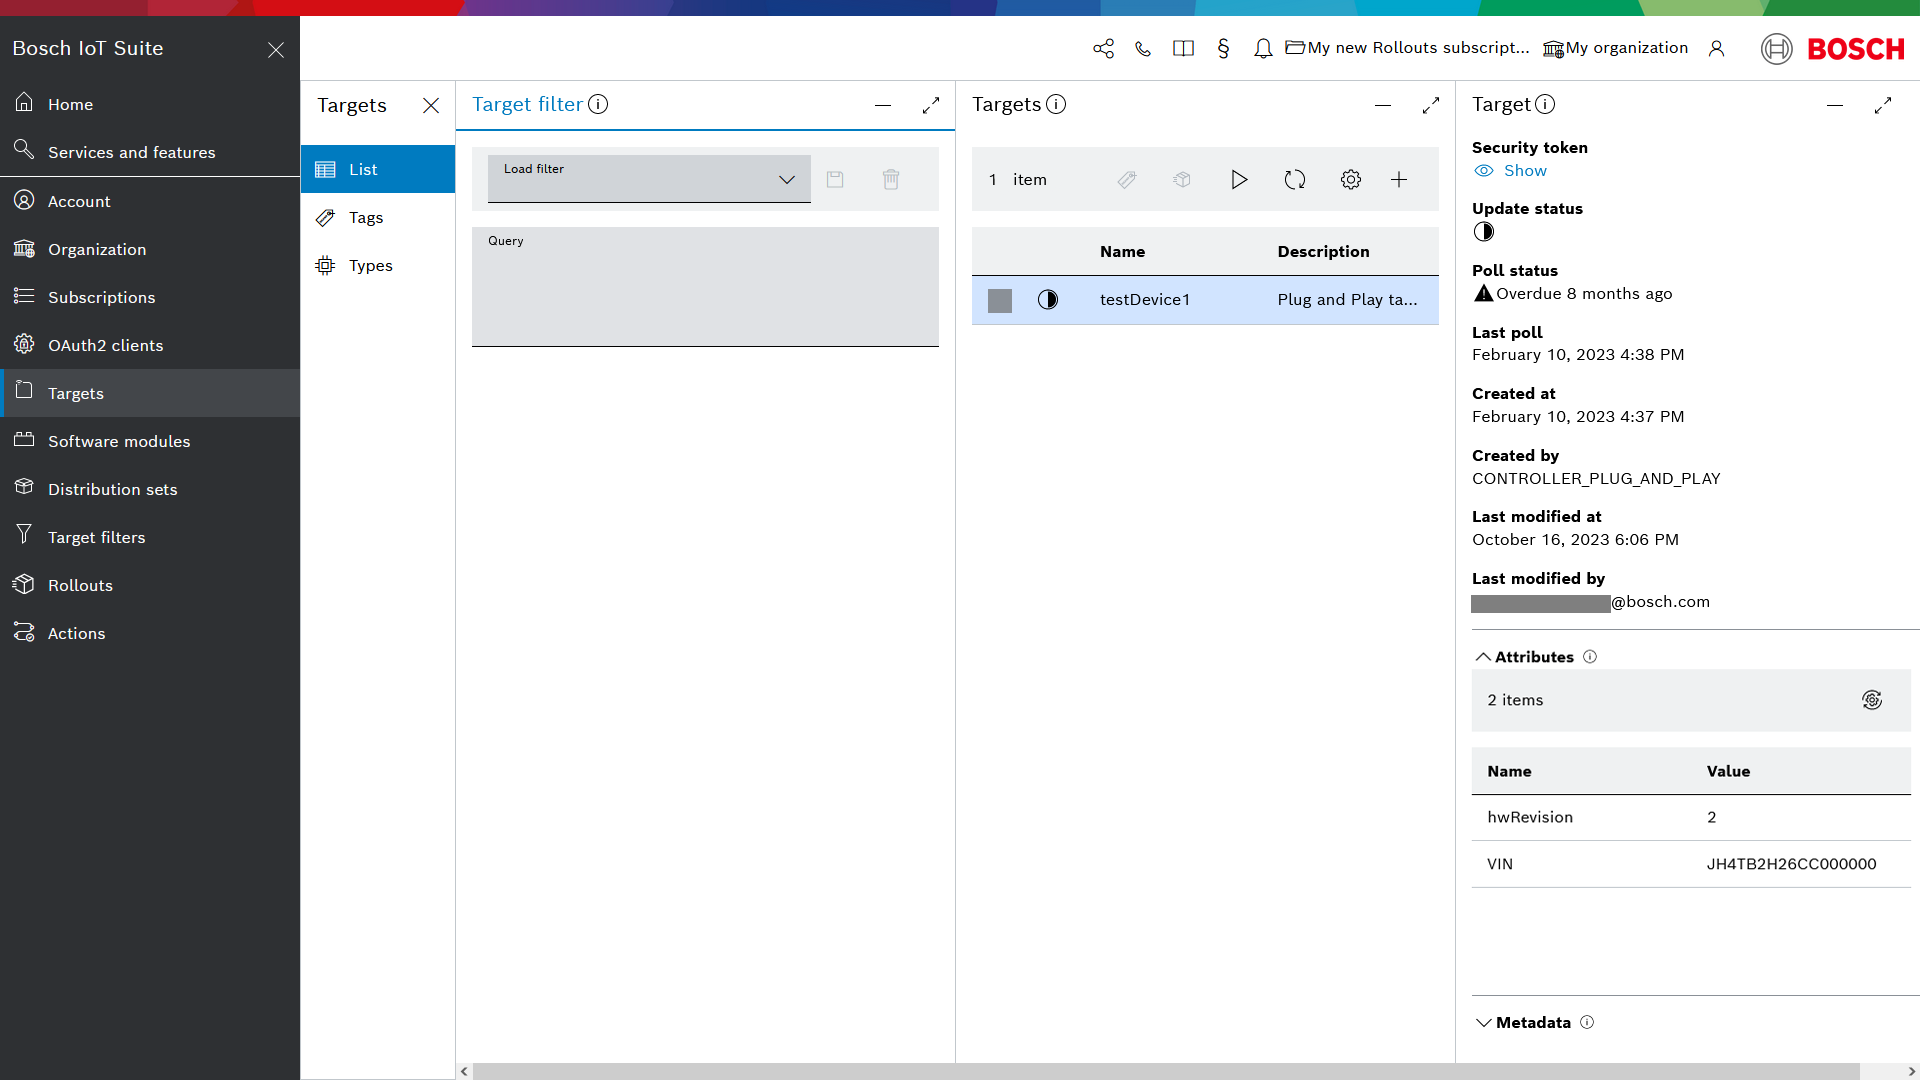
$ curl 'https://<HOST>/<TENANT_ID>/controller/v1/testDevice1/configData' -i -X PUT -H 'Authorization: TargetToken <TARGET_TOKEN>' -H 'Content-Type: application/json;charset=UTF-8' -d '{ "mode" : "merge", "data" : { "hwRevision" : "2", "VIN" : "JH4TB2H26CC000000" }, "status" : { "result" : { "finished" : "success" }, "execution" : "closed", "details" : [ ] }}'You can verify whether the attributes have been set properly by checking the Attributes tab of the respective Target details view in the Management UI:
Add metadata
In addition to attributes, you can also add custom metadata to the device in the form of key-value pairs:
- Expand the Metadata section, at the bottom of the Target details view.
- Click the + icon on the right side of its command bar.
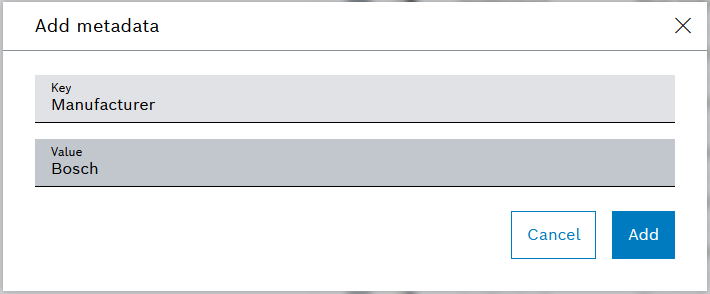
- Fill out the key and value fields and click the Add button to save the new metadata entry.
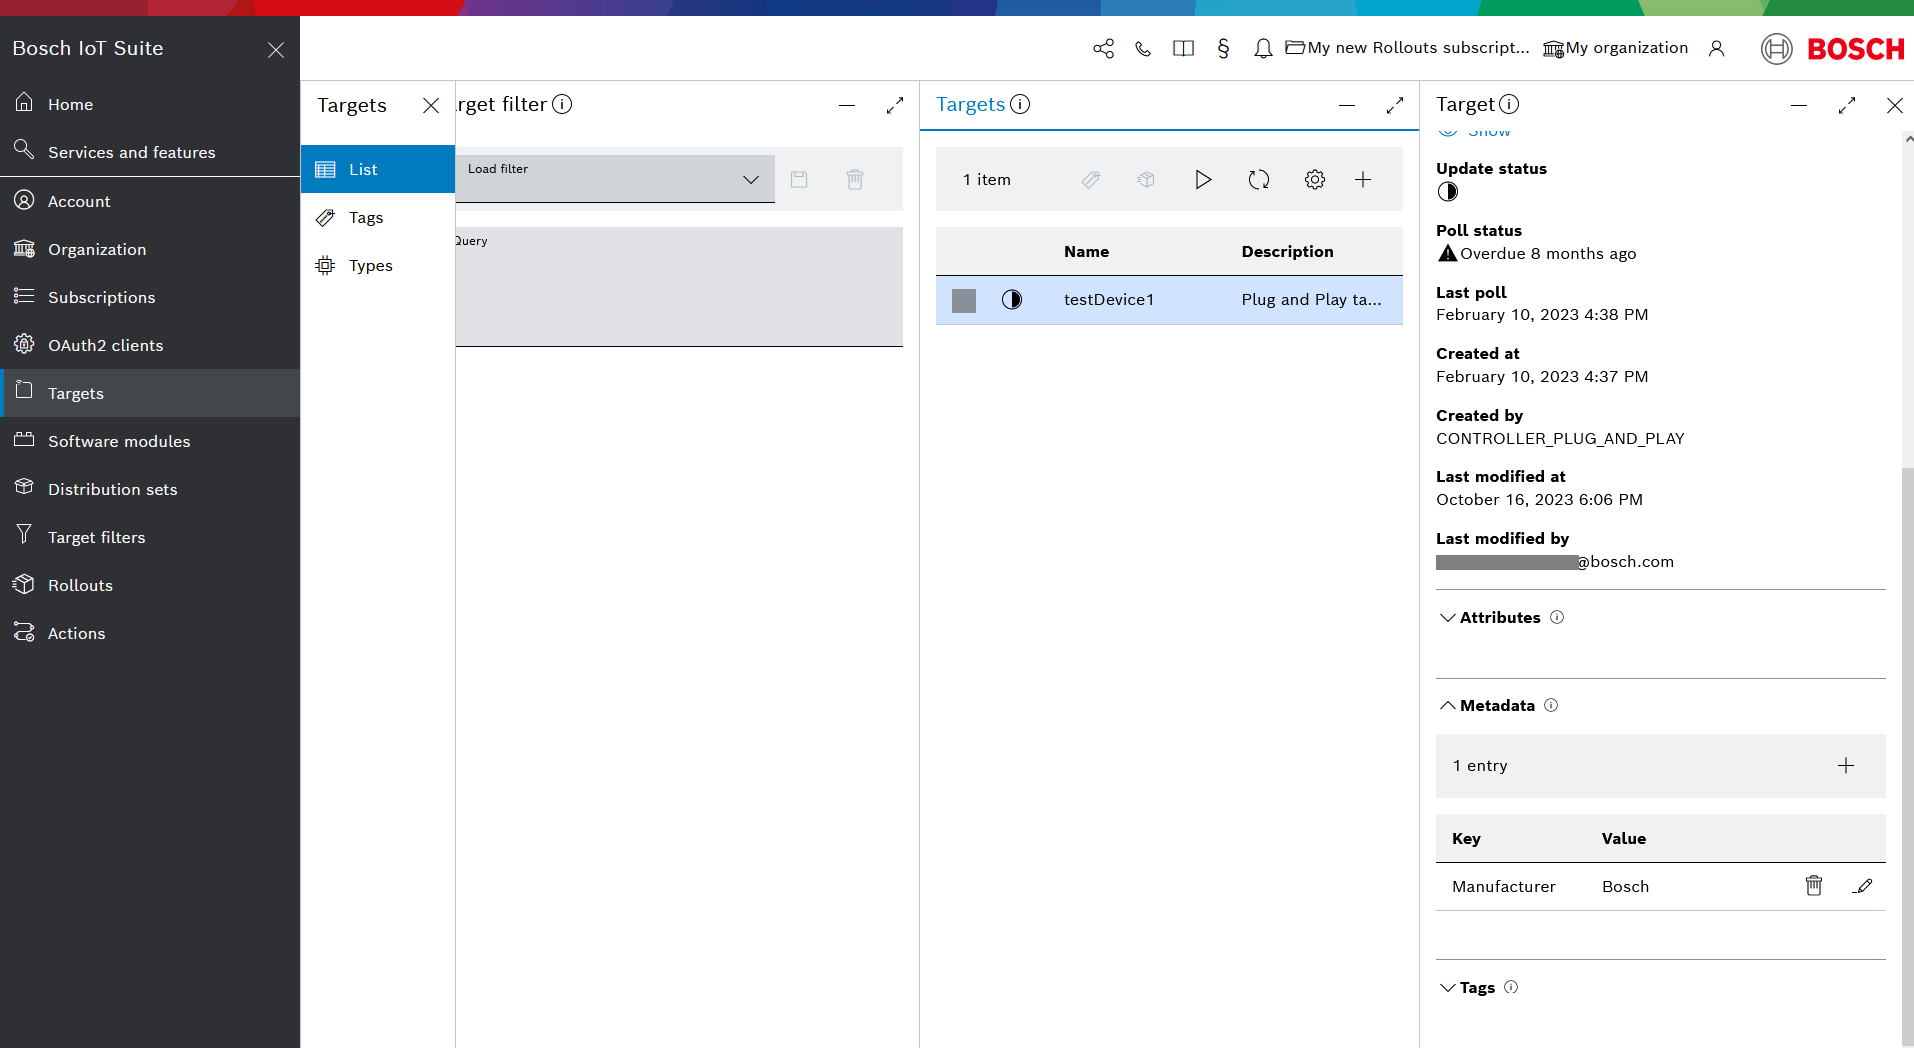
- The new entry will be then displayed as part of the Metadata section in the Target details view.
Scenario 2: Direct registration via DDI API
A device which has not been provisioned via the Management UI or the Management API can access Bosch IoT Rollouts by authenticating through a gateway token.
- Go to the Configuration UI feature.
- Enter edit mode by clicking the Edit icon on the top right.
- Enable the option Allow a gateway to authenticate and manage multiple targets through a gateway security token.
- Click Show and copy the generated token.
- Then save the new configuration by clicking the Save icon on the bottom of the page.
Now that this authorization option is enabled and you have a token, you can use it in the authorization header of your request, as presented in the code example below.
$ curl 'https://<HOST>/<TENANT_ID>/controller/v1/testDevice1' -i -H 'Accept: application/hal+json' -H 'Authorization: GatewayToken <GATEWAY_TOKEN>'{ "config": { "polling": { "sleep": "00:05:00" } }, "_links": { "configData": { "href": "https://<HOST>/<TENANT_ID>/controller/v1/device03/configData" } }}As a final step, add some attributes to the device. Follow the link to configData provided in the response to your last call and add the respective attributes as key value pairs. In this example, we have added two attributes, namely hwRevision and VIN.
$ curl 'https://<HOST>/<TENANT_ID>/controller/v1/testDevice1/configData' -i -X PUT -H 'Authorization: GatewayToken <GATEWAY_TOKEN>' -H 'Content-Type: application/json;charset=UTF-8' -d '{ "mode" : "merge", "data" : { "hwRevision" : "2", "VIN" : "JH4TB2H26CC000000" }}'You can verify whether the attributes were set correctly by checking the Attributes tab of the Target details view, as on the screenshot below.
