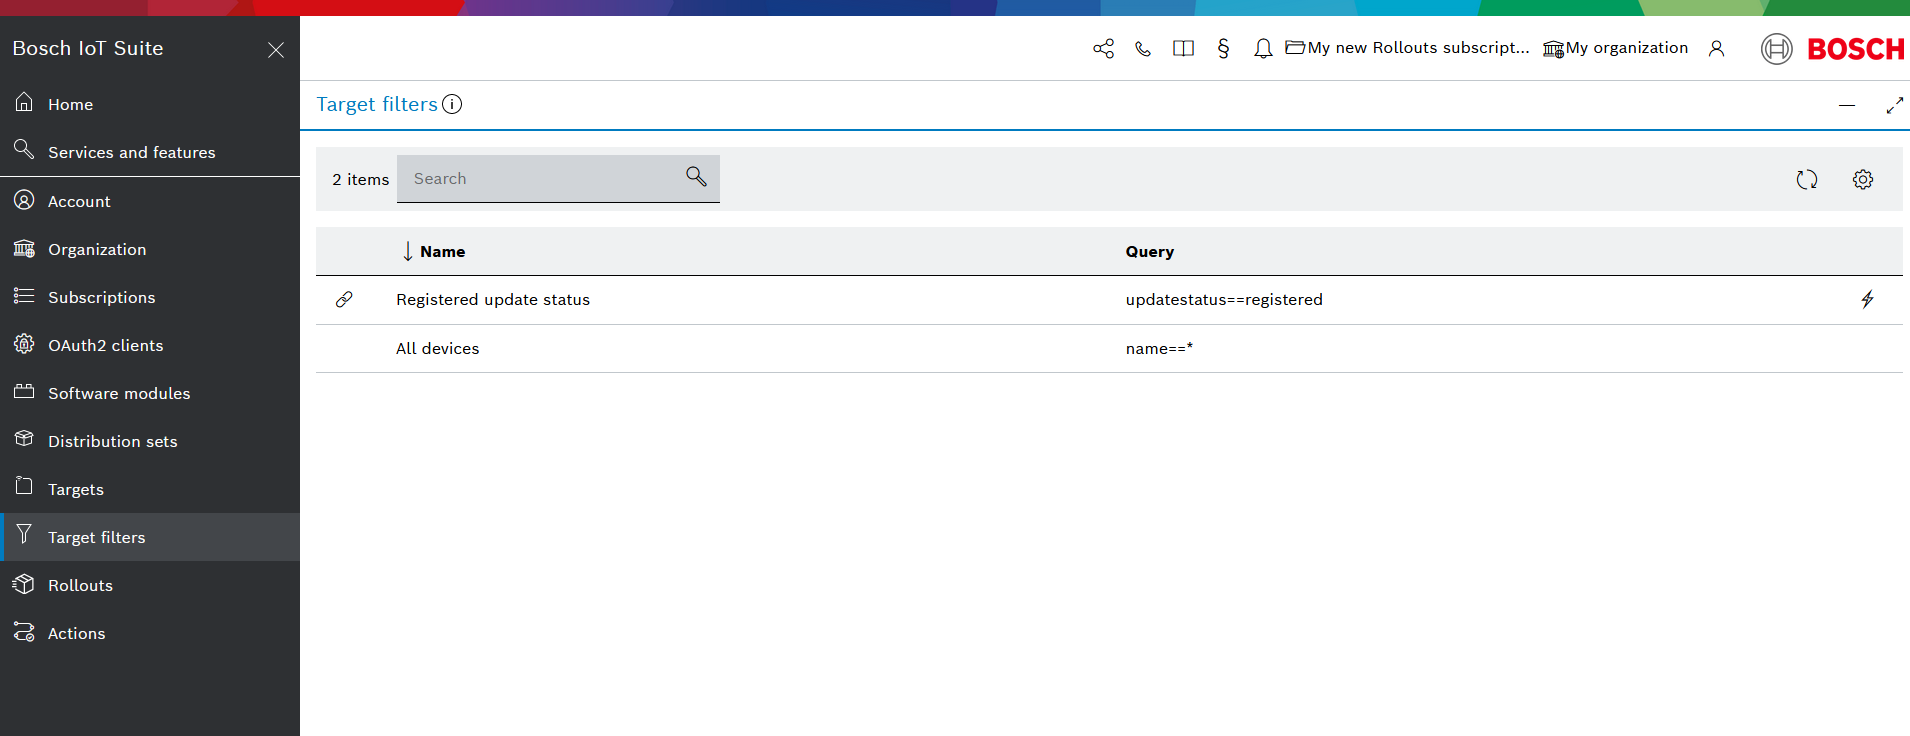
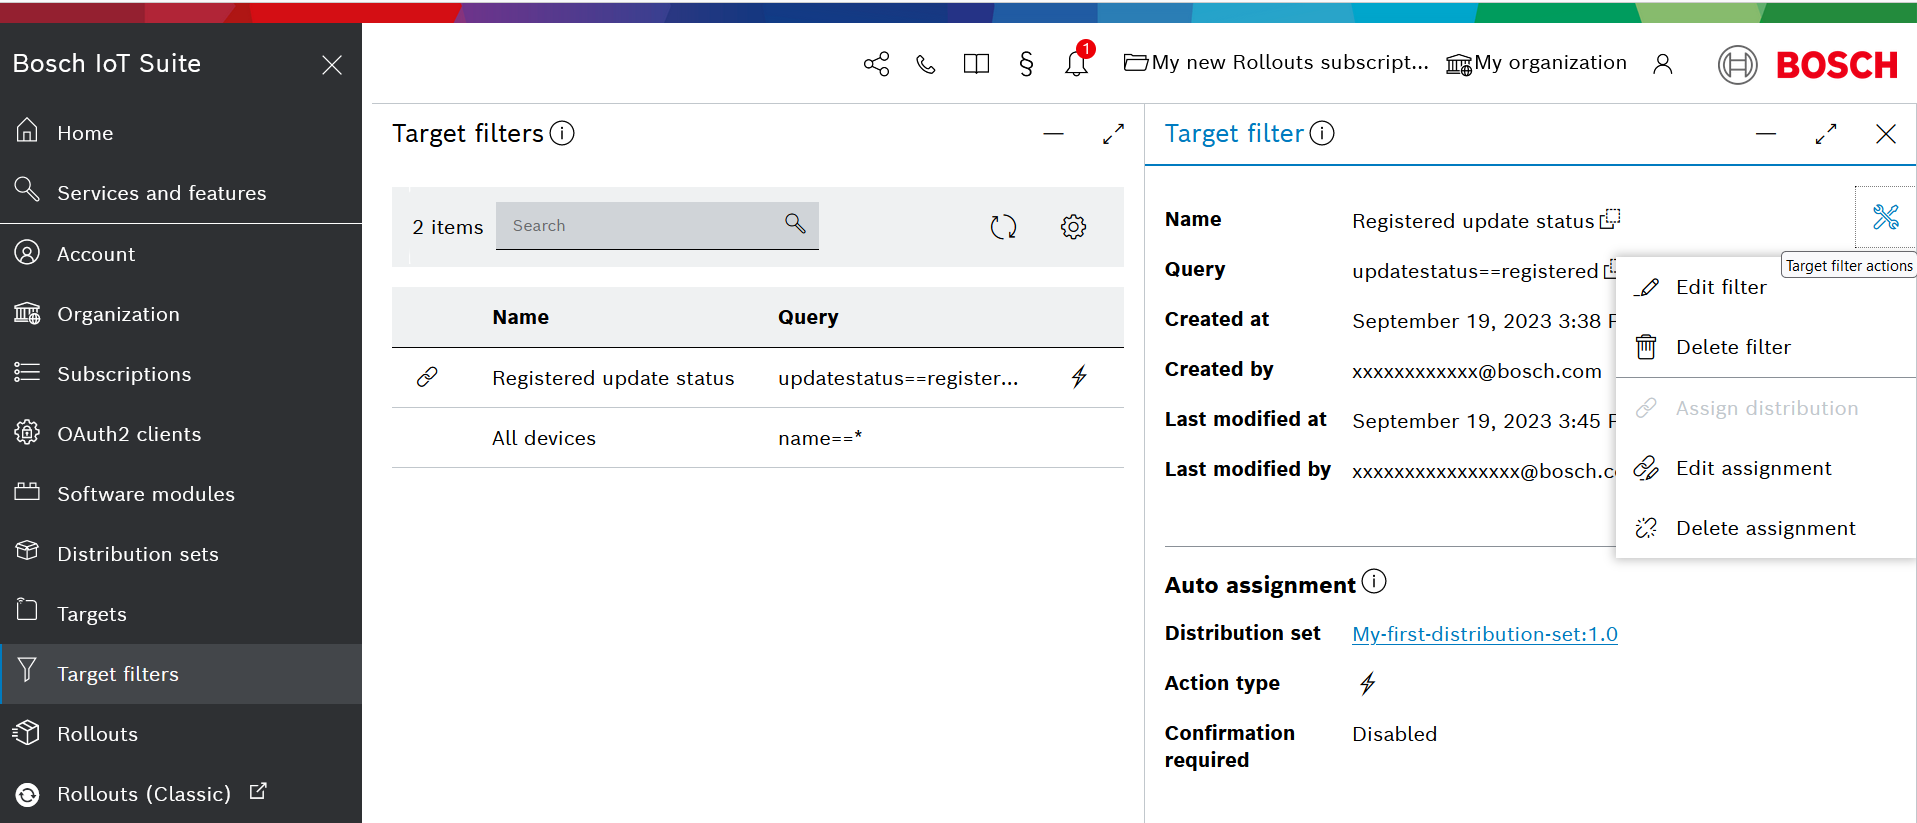
To view and manage already created target filters, open Target filters from the left navigation.
If you do not see the Target filters UI feature on the left navigation, go to Services and features on the left navigation and search for Target filters, then use the star icon to pin this feature to the main navigation.
View the list of target filters
If you have not created a target filter yet, learn hot to do it at Create a target filter.
Upon navigating to Target filters will automatically display a list of the existing target filters with the following properties:
- Auto-assignment - an icon column showing whether the respective target filter is associated with an auto assignment
- Name - a text column showing the target filter name
- Query - a text column showing the target filter query
- Action type - an icon column which is displayed only for target filters which are associated with an auto assignment; in such a case the icon shows the action type of the assignment as explained here
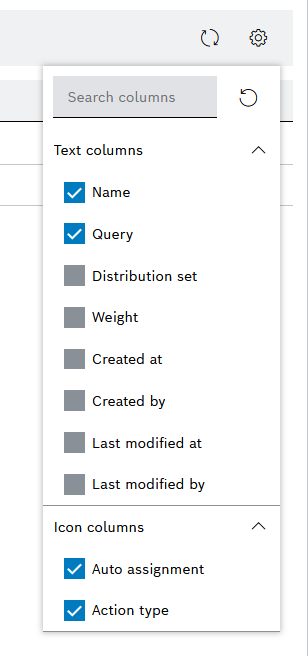
You can view additional properties on the list by adding more columns through the Configure columns menu.
As in the other UI features, this menu is available through the icon in the top right area.
In this menu, you can also search for columns in the search bar and restore the default columns via the reset icon.
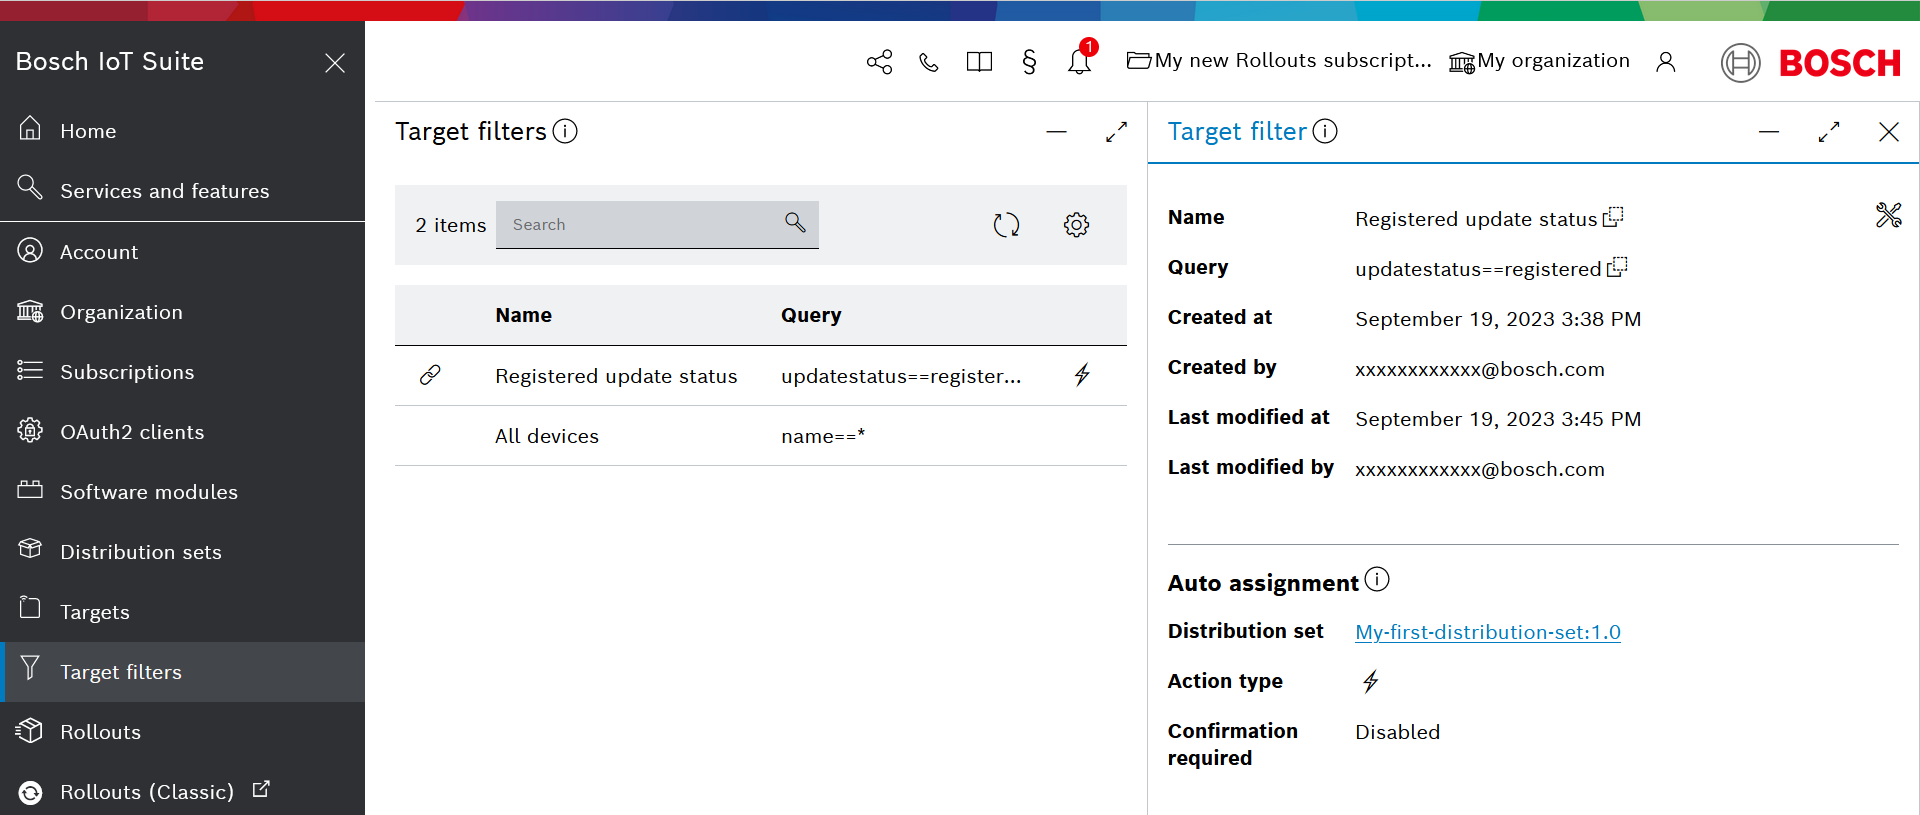
When you select a target filter from the list, you can see its full details:
Sort and search for target filters
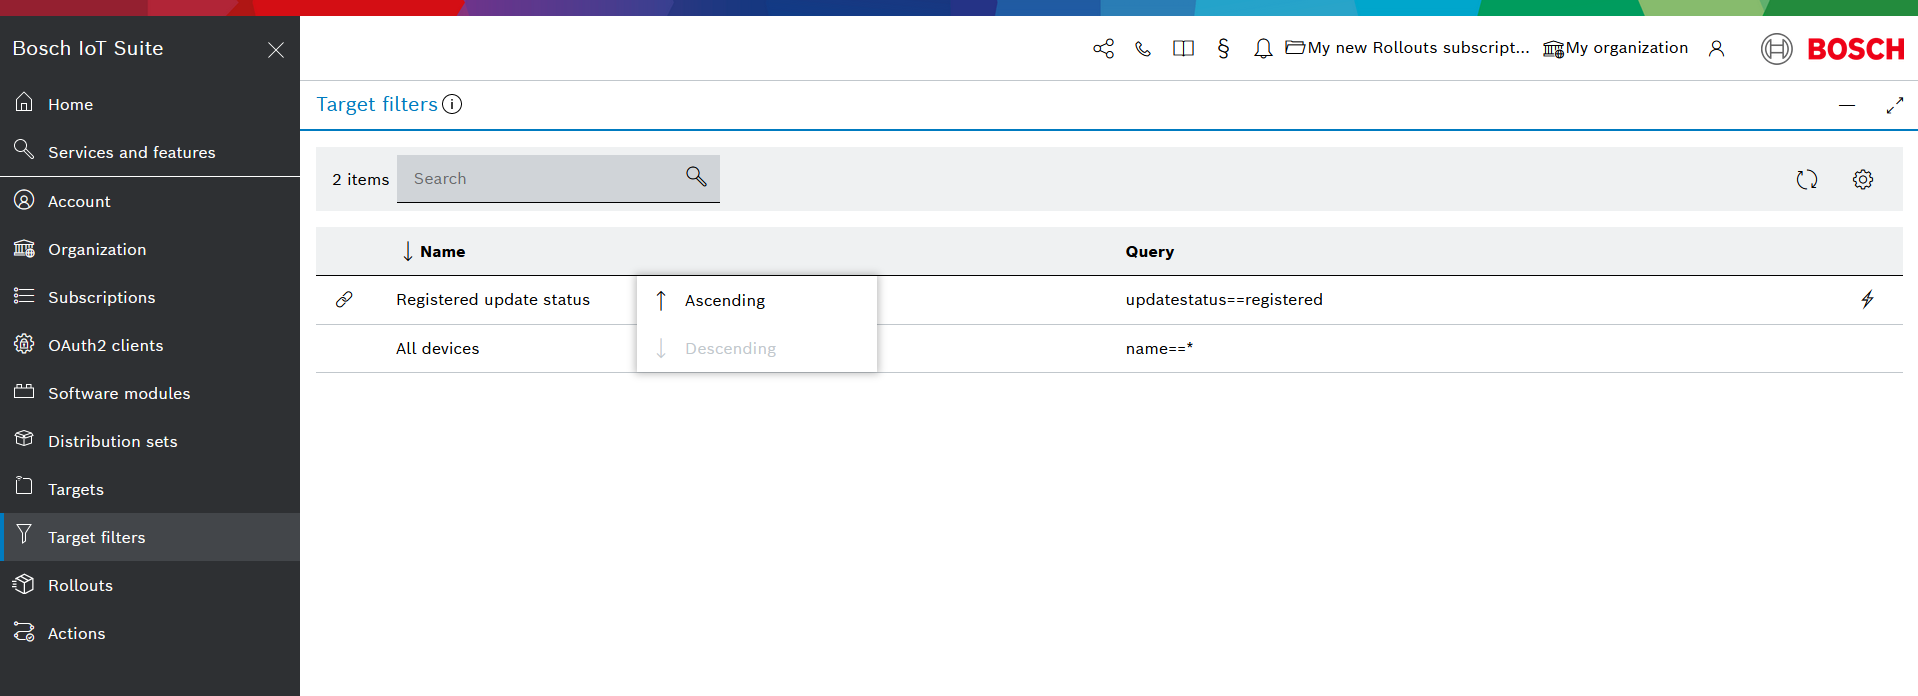
The Target filters view allows you to sort the target filters by name in an ascending or descending order. Just click the Name column and decide on the order.
You can also search for target filters via the Search input field. It accepts queries by target filter name only.
Manage target filters
To manage a target filter, click the icon and select the relevant action from the menu that opens:
- Edit filter - when you select this action, a dialog opens where you can edit the name and the query of this filter
- Delete filter - when you select this action, a dialog opens where you should confirm your choice to delete the filter
- Assign distribution - as described in Create auto assignment
- Edit assignment - as described in Edit auto assignment
- Delete assignment - as described in Delete auto assignment
