Table of contents:
- Introduction
- Applicable to Rollouts customers in the following regions
- Prerequisites
- Generate a RootCA
- Generate and sign the device client certificate
- Check the signed certificate
- Get the SHA256 Fingerprint of the root CA
- Enter the fingerprint into your Rollouts tenant configuration
- Combine the certificate and chain into one file
- Run DDI query leveraging the certificate
Introduction
Bosch IoT Rollouts supports device authentication with client certificates. This guide demonstrates how to leverage this feature on Bosch IoT Rollouts.
Applicable to Rollouts customers in the following regions
- EU-1 (AWS)
- US-1 (AWS)
Prerequisites
- A booked Bosch IoT Rollouts service instance on EU-1 or US-1.
- You have OpenSSL and a curl with OpenSSL support installed on your client machine.
On MAC OS X, this can be achieved with:
brew install curl-opensslexport PATH=/usr/local/opt/curl/bin:$PATHGenerate a RootCA
openssl genrsa -out rootca.key 2048Note: The Common Name (CN) shouldn’t be empty.
openssl req -x509 -new -nodes -key rootca.key -sha256 -days 1024 -out rootca.pemGenerate and sign the device client certificate
openssl genpkey -algorithm RSA -out client.key -aes256When creating the certificate signing request (CSR), the Common Name (CN) has to be equal to the desired controllerID in Rollouts, e.g., in this example testDevice01.
Note: The CN is case sensitive.
openssl req -new -key client.key -out client.csrThen, sign the device client certificate:
openssl x509 -req -in client.csr -CA rootca.pem -CAkey rootca.key -CAcreateserial -out client.crt -days 356 -sha256Check the signed certificate
openssl x509 -in client.crt -text -nooutThe expected result will be similar to this
Certificate: Data: Version: 3 (0x2) Serial Number: 0f:f3:11:35:f9:cf:13:92:3a:3c:0e:c3:0e:a4:f1:14:3a:d1:35:a7 Signature Algorithm: sha256WithRSAEncryption Issuer: C=DE, ST=BW, L=WA, O=Bosch.IO GmbH, OU=Rollouts, CN=Rollouts Test CA/emailAddress=service-rollouts@bosch.com Validity Not Before: Jan 31 12:00:00 2026 GMT Not After : Feb 21 12:00:00 2027 GMT Subject: C=DE, ST=BW, L=WA, O=Robert Bosch GmbH, OU=Rollouts, CN=testDevice01 Subject Public Key Info: Public Key Algorithm: rsaEncryption Public-Key: (2048 bit) Modulus: ... Exponent: 65537 (0x10001) X509v3 extensions: X509v3 Subject Key Identifier: CE:E7:F1:1D:D6:C1:EB:ED:AB:4E:C1:EC:28:B0:57:17:49:FA:9F:DC X509v3 Authority Key Identifier: 38:B5:24:7D:F2:1E:9F:3E:2D:1E:A7:85:76:23:E1:72:05:EF:6F:3B Signature Algorithm: sha256WithRSAEncryption Signature Value: ...Get the SHA256 Fingerprint of the root CA
In Bosch IoT Rollouts on AWS, you need to extract the SHA-256 fingerprint:
openssl x509 -noout -fingerprint -sha256 -inform pem -in rootca.pem The expected result is something similar to:
SHA256 Fingerprint=D3:D0:ED:F2:A8:98:90:0F:53:16:D0:5D:08:F7:C0:0E:BB:6A:5E:C6:3D:C4:E5:86:88:D8:2A:E2:4A:72:86:40Enter the fingerprint into your Rollouts tenant configuration
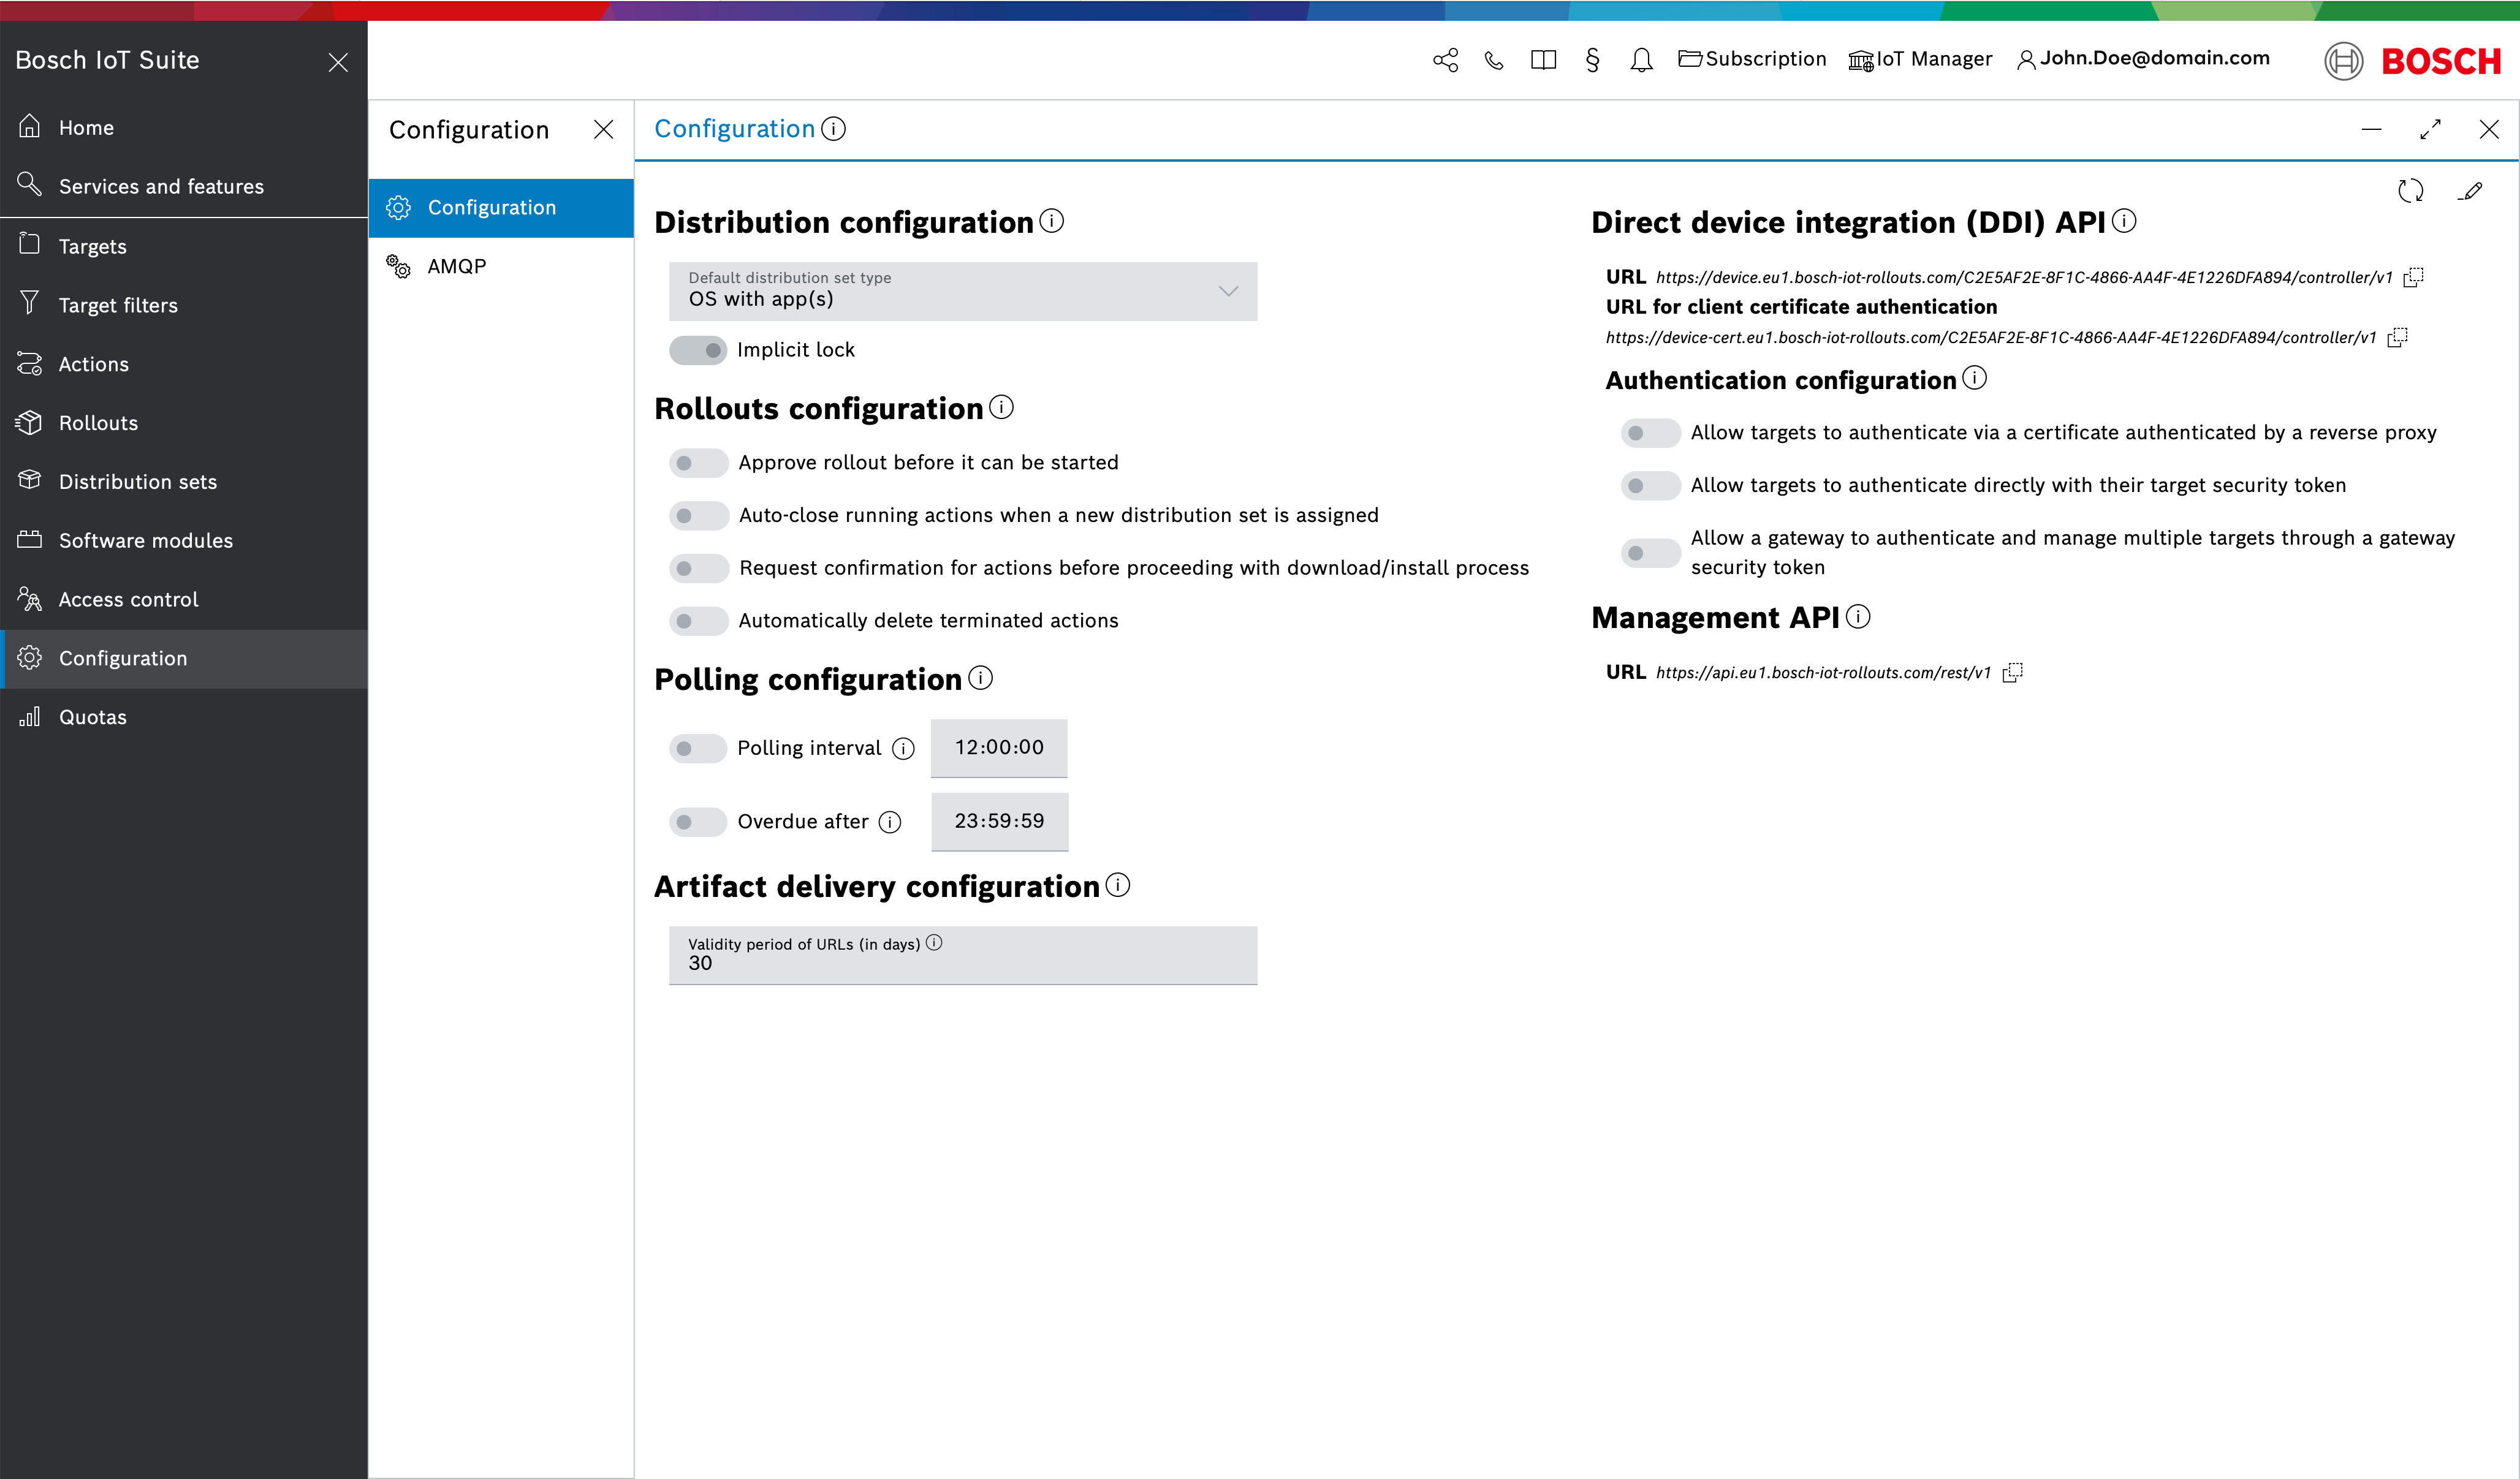
Enter the fingerprint of the previous step into the UI.
Combine the certificate and chain into one file
For authentication, the device must send the entire certificate chain with the request. Bosch IoT Rollouts will then validate the certificate chain and extract the fingerprints from all certificates. To finally establish trust with the client certificate provided by the device, the root or intermediate CA’s certificate fingerprint is checked against the fingerprint that is stored in the tenant configuration.
To assemble the certificate chain, you can concatenate the single .cer files:
cat client.crt rootca.pem > chain.cerRun DDI query leveraging the certificate
You can now send requests to DDI by attaching the certificate chain file. Note that the certificate-enabled DDI base URL depends on the Rollouts region (EU-1 or US-1).
For EU-1, the DDI base URL that supports certificate-based authentication is
device-cert.eu1.bosch-iot-rollouts.comFor US-1, the DDI base URL that supports certificate-based authentication is
device-cert.us1.bosch-iot-rollouts.comDDI query example for Bosch IoT Rollouts on EU-1
curl --include --insecure --cert ./chain.cer --key ./client.key --pass 'YourPrivateKeyPassword' https://device-cert.eu1.bosch-iot-rollouts.com/YOUR-TENANT/controller/v1/testDevice01Expected result:
{ "config": { "polling": { "sleep": "00:00:20" } }, "_links": { "configData": { "href": "https://device-cert.eu1.bosch-iot-rollouts.com/YOUR-TENANT/controller/v1/testDevice01/configData" } }}